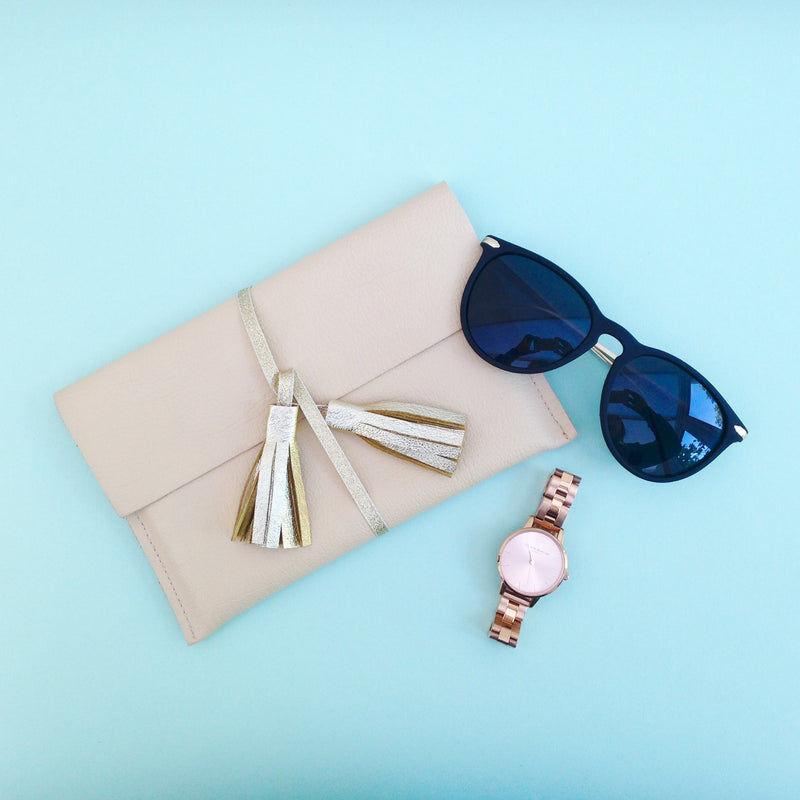
DIY leather kindle/iPad cover with gold tassel strap

What you will need:
- Piece of sturdy leather large enough to wrap around your kindle or iPad - I am using a nude leather but you could use any colour you prefer
- Soft leather in colour of your choice for the tassels - I have opted for gold (my favourite colour!)
- Thread to match your case leather colour
- Ribbon to match your tassel colour - mine is a gold lame ribbon
- Sewing machine
- Superglue
- Scissors
- Pen
- Ruler

Start by placing your kindle or iPad just off centre on the inside of your leather. Make sure you leave sufficient space around the edge - approx 1cm either side of your tablet, and allow enough length so that your leather can fold over your tablet (almost like a clutch bag). Cut your leather to the correct size and then sew up the sides to create the sleeve for your tablet to sit in.

Take your ribbon and measure out a piece long enough to wrap all the way around your case and tie at the front. This will form the strap of your new tablet case. Using your soft leather cut two rectangles 6cm x 11.5cm. You can of course change the size if you prefer a smaller or larger tassel. On the back of the leather using a pen mark out a top boarder of 1.5cm from the edge, then space lines of 0.5cm width from the boarder to the bottom edge. I've used a light pen as I didn't want to mark my leather too much. Cut along the lines until you have formed a fringe, then taking one end of your ribbon and superglue you can stick and roll the leather until you form a tassel. I tend to glue after every roll to make sure the tassel is nice and secure.

Repeat this process until you have a matching tassel at the other end of your ribbon. You will now need to superglue one end of tasseled ribbon to the central part of the outer sleeve of your case. The idea is that the ribbon ties around your case until you loop the second tassel underneath the front ribbon strap to secure it shut. You may want to play around with positioning and use some tape before you glue the ribbon to make sure you have it in the correct place. I glued the ribbon about 2cm up from the edge of the flap, but left approx 1.5cm of ribbon loose before the tassel so that the tassel could neatly hang down. Once you are happy with your position glue down the ribbon into place and tie the strap around your new case.
This DIY kindle or iPad case is so simple to make but looks so effective. I can't wait to start using mine on holiday this weekend...I might even double it up as a cute clutch bag in the evenings!

0 comments