DIY Cute Pom Pom or Summer Sparkle Espadrilles

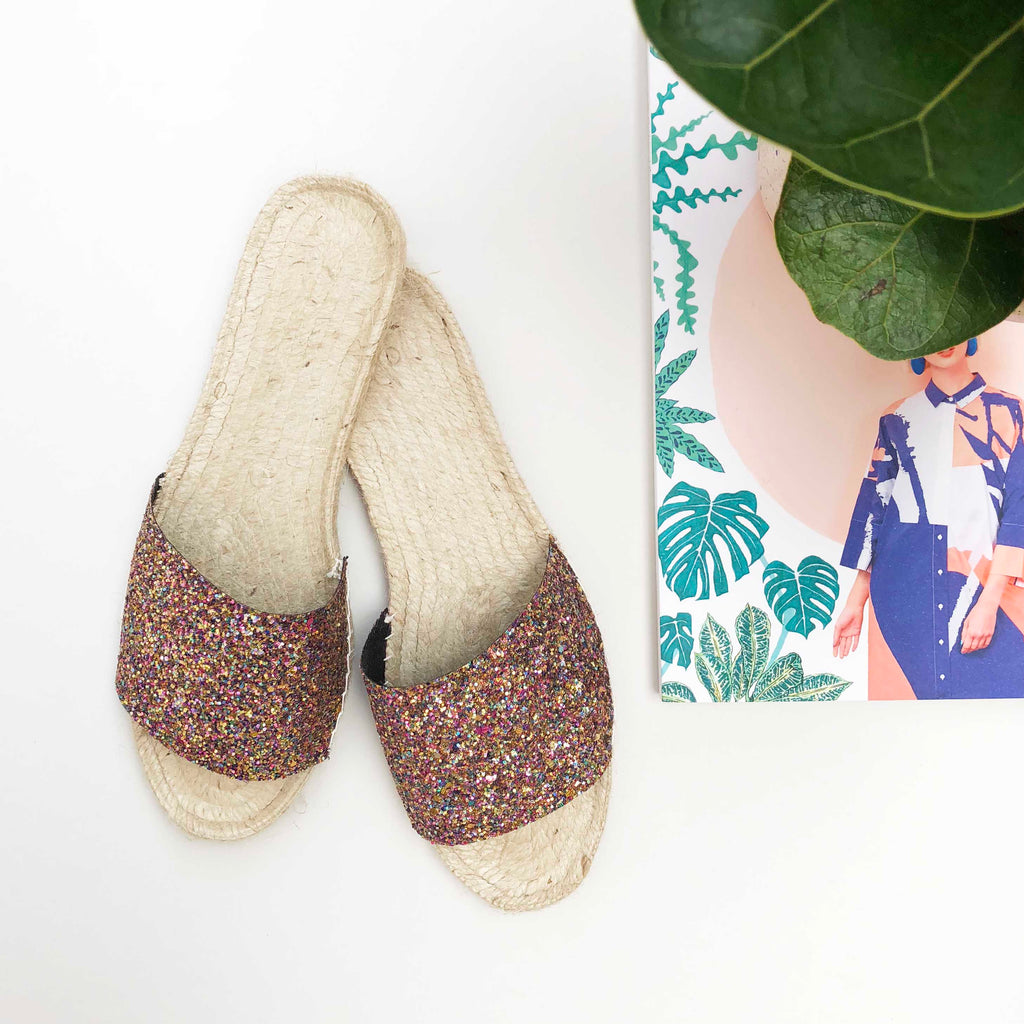
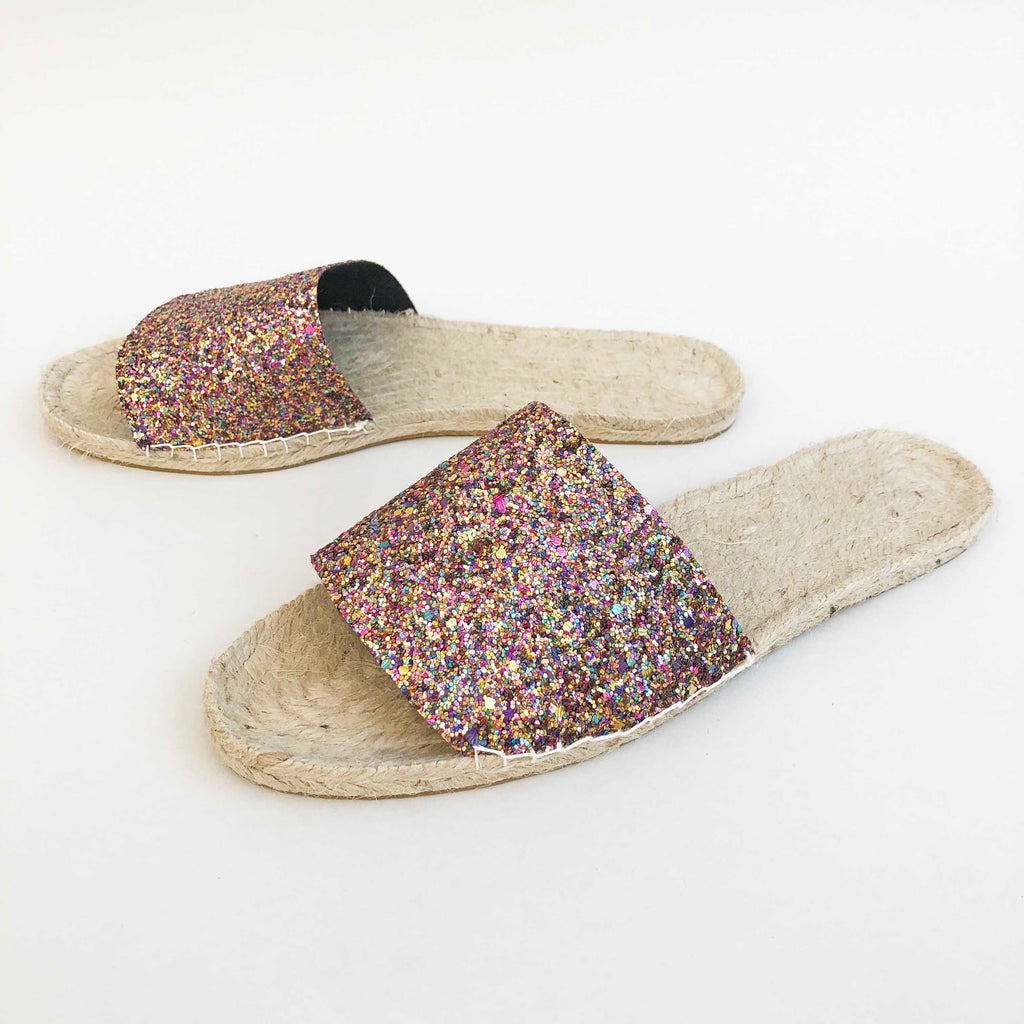
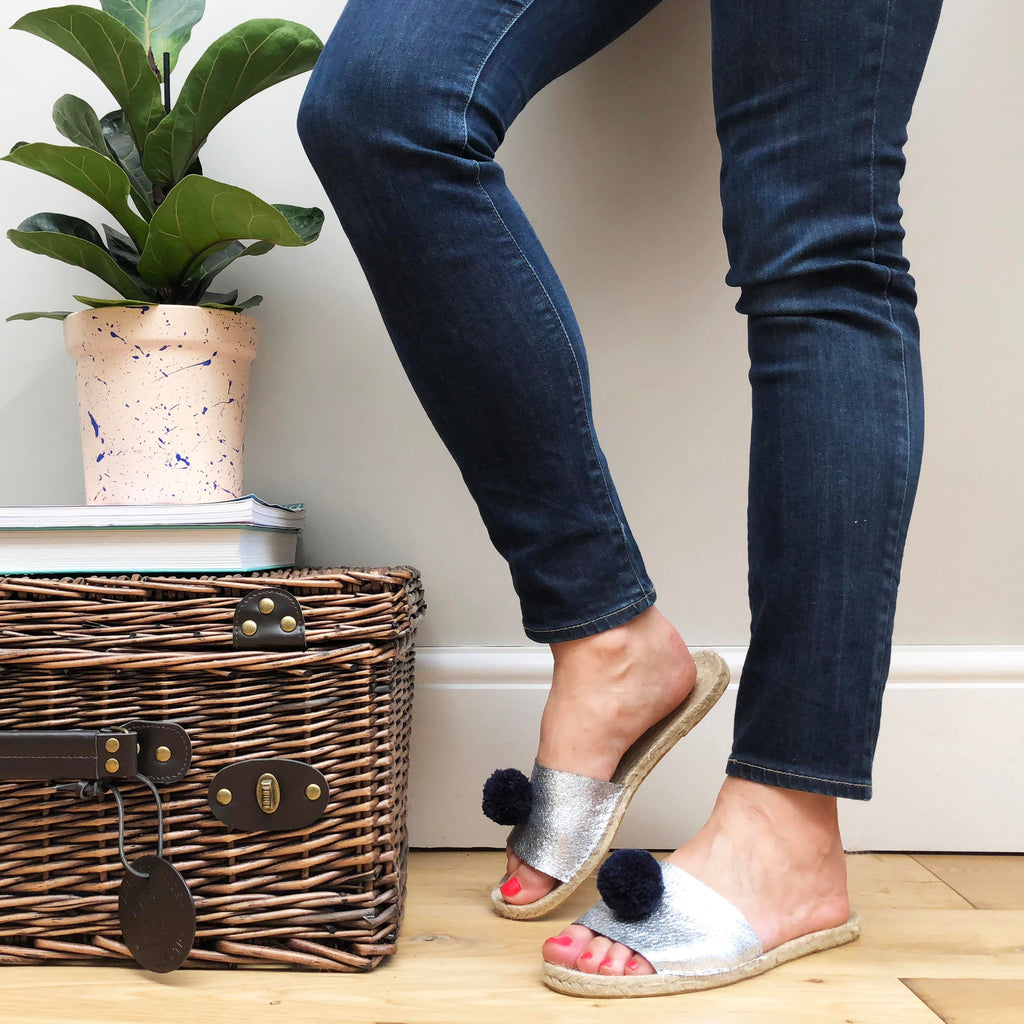
The summer sun may have temporarily disappeared for a few days but we are pretty sure it will be coming back soon, so we have a super little DIY to make your own summer sandals. You can choose from a more casual daytime leather strap with a cute pom pom detail, or a fun sparkly glitter sandal perfect for those summer parties.
Making your own espadrilles is incredibly easy, it just involves a little cutting and hand stitching. You can completely change the look by using different materials, or adding extra details like tassels or pom poms.
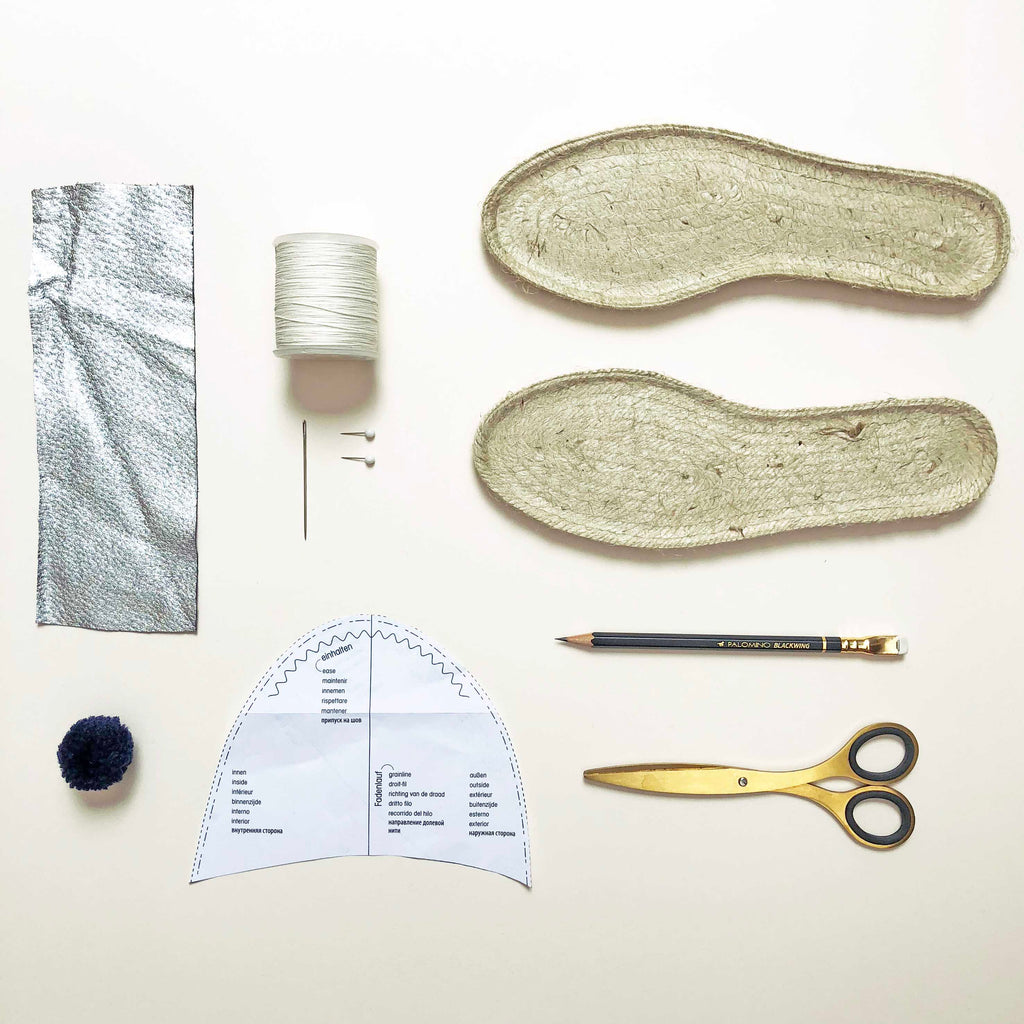
What you will need
Espadrille soles - easily available online, search for Prym brand
Glitter Fabric or Leather
Paper for template
Scissors
Pen or pencil
Couple of pins
Some good quality strong thread
Embroidery needle
Yarn for pom poms (optional)

Creating your template
Your pack of Prym espadrilles should also include a paper template. The template is designed to produce a shoe rather than a sandal so we will adapt the shape slightly by cutting off the toe-end and curving the top-end. Your new template will look a little like a curved rectangle. It helps to hold the template over your foot and against the sole to make sure you have the right size. Your template should line up with the top of the espadrille sole. Once you have your template and have used it to cut out your fabric or leather you are ready to stitch. Carefully pin the fabric piece in place on one side of your sole.
Hand Stitching your fabric
I've use a book binding thread to stitch my shoes which is great as it has a really strong finish. You could also use a thick heavy duty cotton or embroidery thread.
Knot your thread and pull it through the fabric from the inside so that the knot will be hidden, then stitch down directly below through the sole about 0.5-0.8cm down, and bring up through the fabric again to secure in place.
Once you come through the fabric again your next stitch will be to the right of your initial sole stitch, approx 0.5-0.8cm again. You will then follow that stitch upwards through your fabric, keeping the excess thread behind the needle as you pull it up as this will secure the stitch down. Keep repeating this stitch pattern until you have finished and neatly knot the end.
Before you start sewing your opposite side quickly try your shoe on and make sure the other side lines up. Sometimes I find I need to cut the fabric a little shorter on the other side to give it a nice snug fit.
Complete the process until you have finished sewing both sandals.
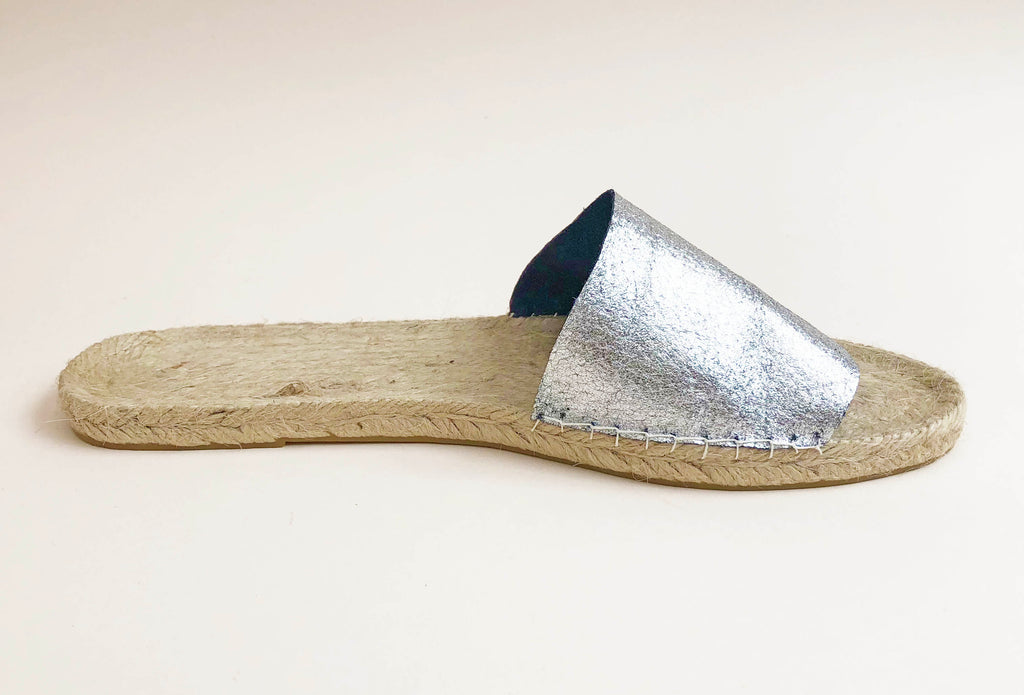
Creating your pom pom
If you do decide to add a pom pom then we have a little trick that doesnt require a pom pom maker. You can just use your hands!
Cut a length of yarn about 40cm long and loop it over your index finger.

Keeping your index finger and your middle finger in an open V-shape, begin to wrap more yarn around your fingers. Make sure you keep your fingers open - you don't want to cut off circulation! Once you have wrapped it around a fair amount of times (you can vary this depending on the size you would like your pom pom to be), take the two ends of the original loose yarn piece, and pull them together to tie a knot, whilst you carefully take the yarn loops off your fingers. Tie a couple more knots to make it extra secure.

Now to trim! Cut around your new yarn ball but try to keep the two loose ends in place as you will use these to stitch your pom pom to your shoe. Trim your pom pom down to a nice even ball shape.

Use your embroidery needle to stitch one of the yarn ends through the middle of your shoe, then do the same with the other yarn end in the opposite direction. Tighten them together and knot a few times around the pom pom so they are completely secure.
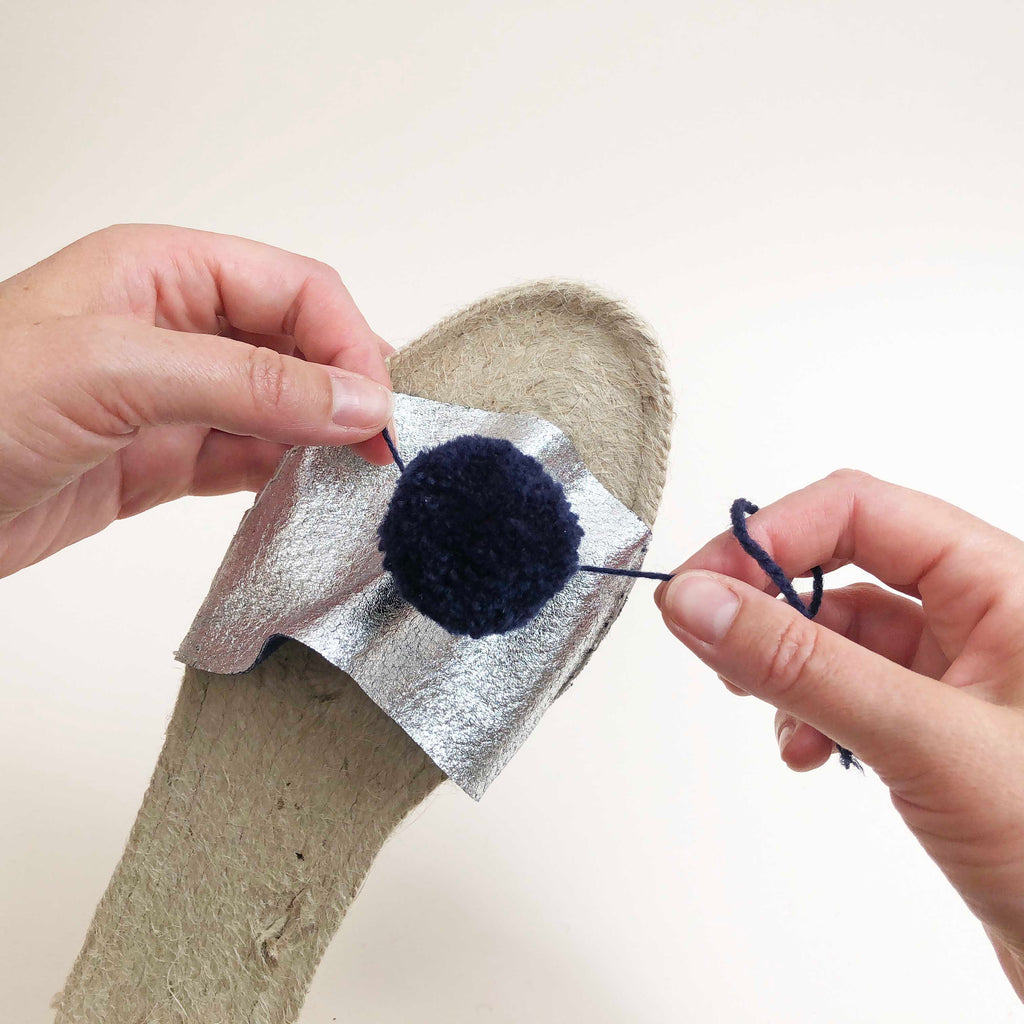
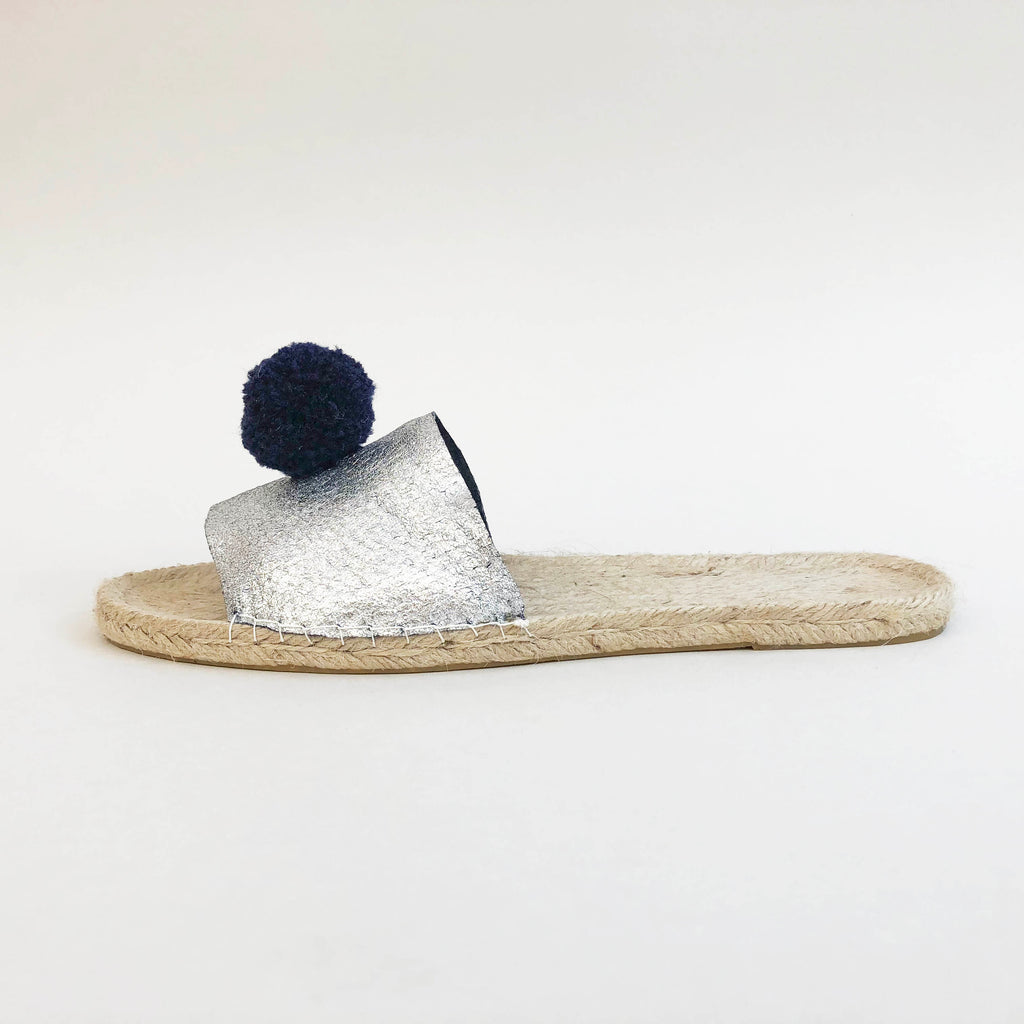 Once complete put your new sandals on a do a little happy dance!
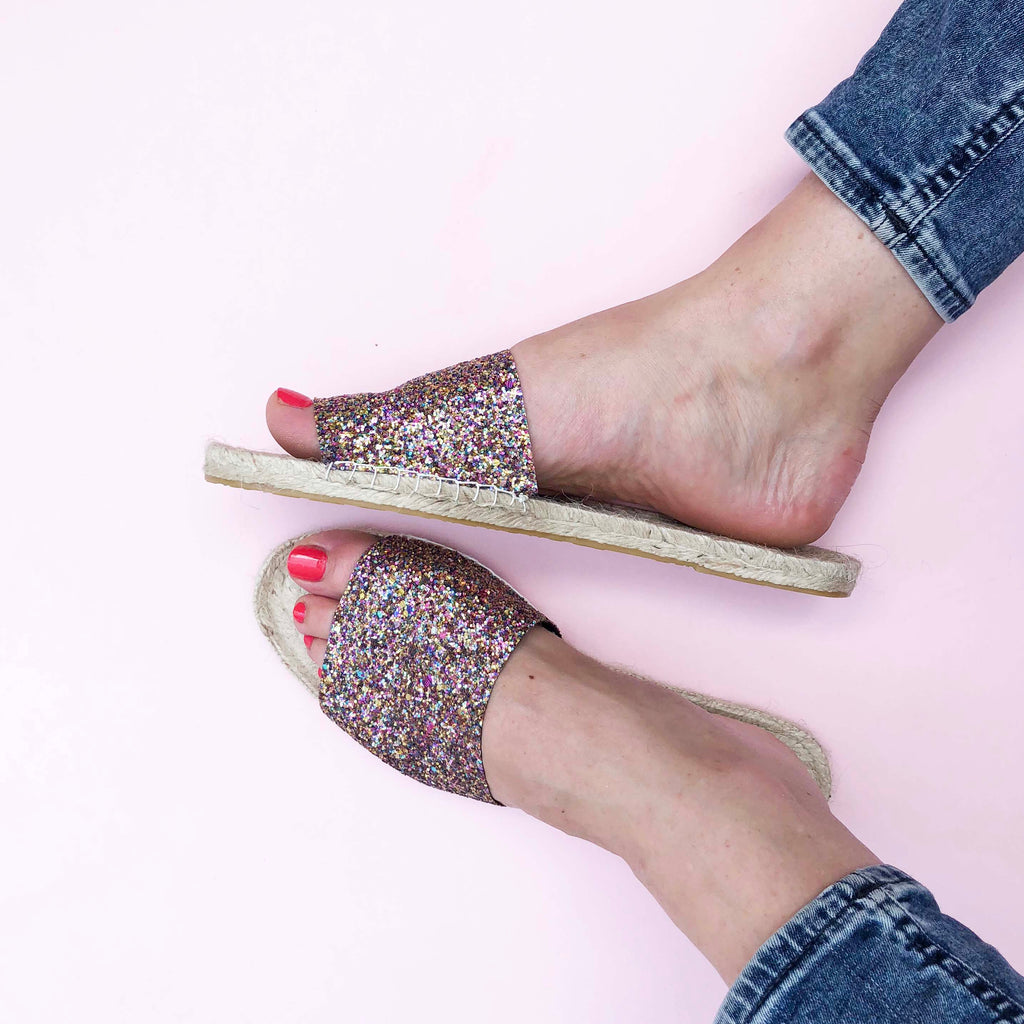
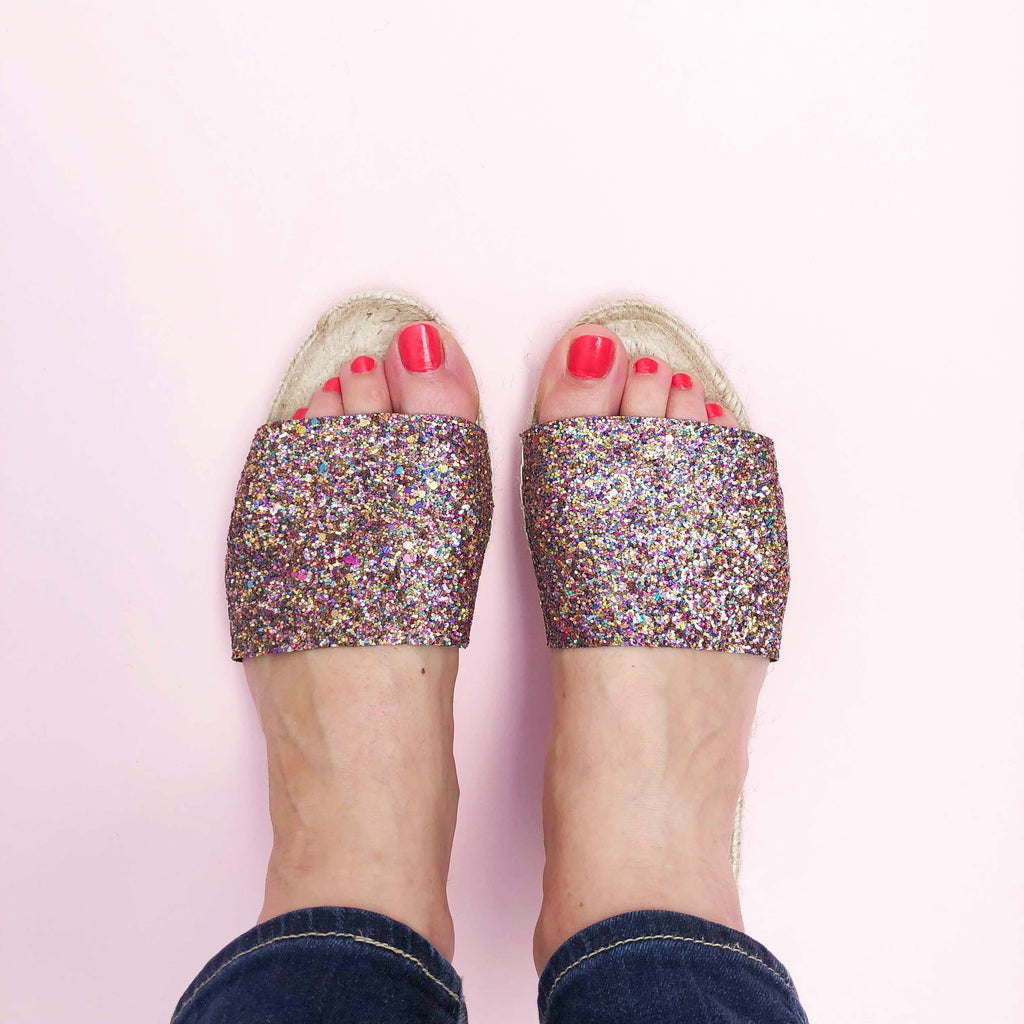
These espadrilles are so comfy. The pom pom versions are perfect for daytime outfits (and also so good as summer slippers). I love the sparkle versions for summer nights when you want to be a bit dressed up but still able to dance the nights away.

0 comments