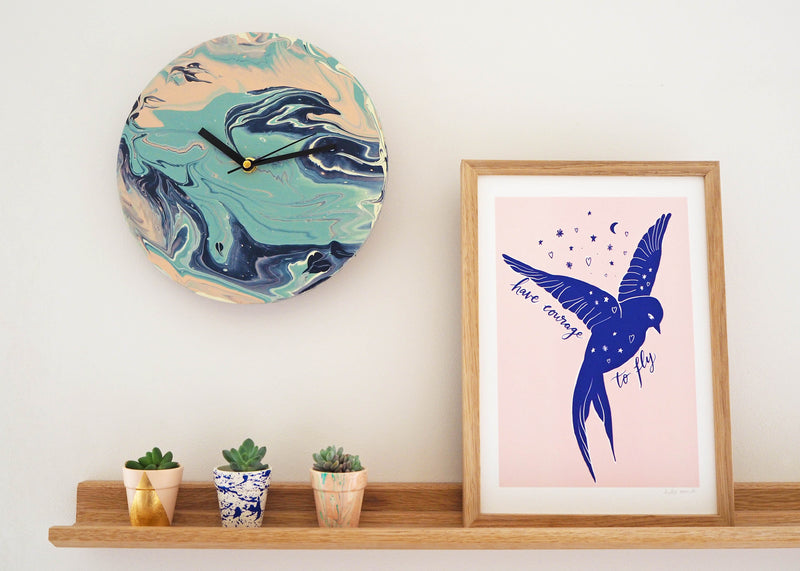
Marbled Clock DIY

The clocks finally went forward over the weekend which means we are officially on British Summer Time (although it doesn't really feel like summer just yet, does it?!). I must admit I'm quite enjoying waking up with the sun already up and it also means Pebble is not meowing to wake me up at the crack of dawn anymore.
This spring forward has been making me think a lot about time and a DIY which I have been wanting to do for a while; a marble-style clock.
This DIY couldn’t be easier as we will be using a pouring technique which creates a beautiful marbled effect with very little effort.
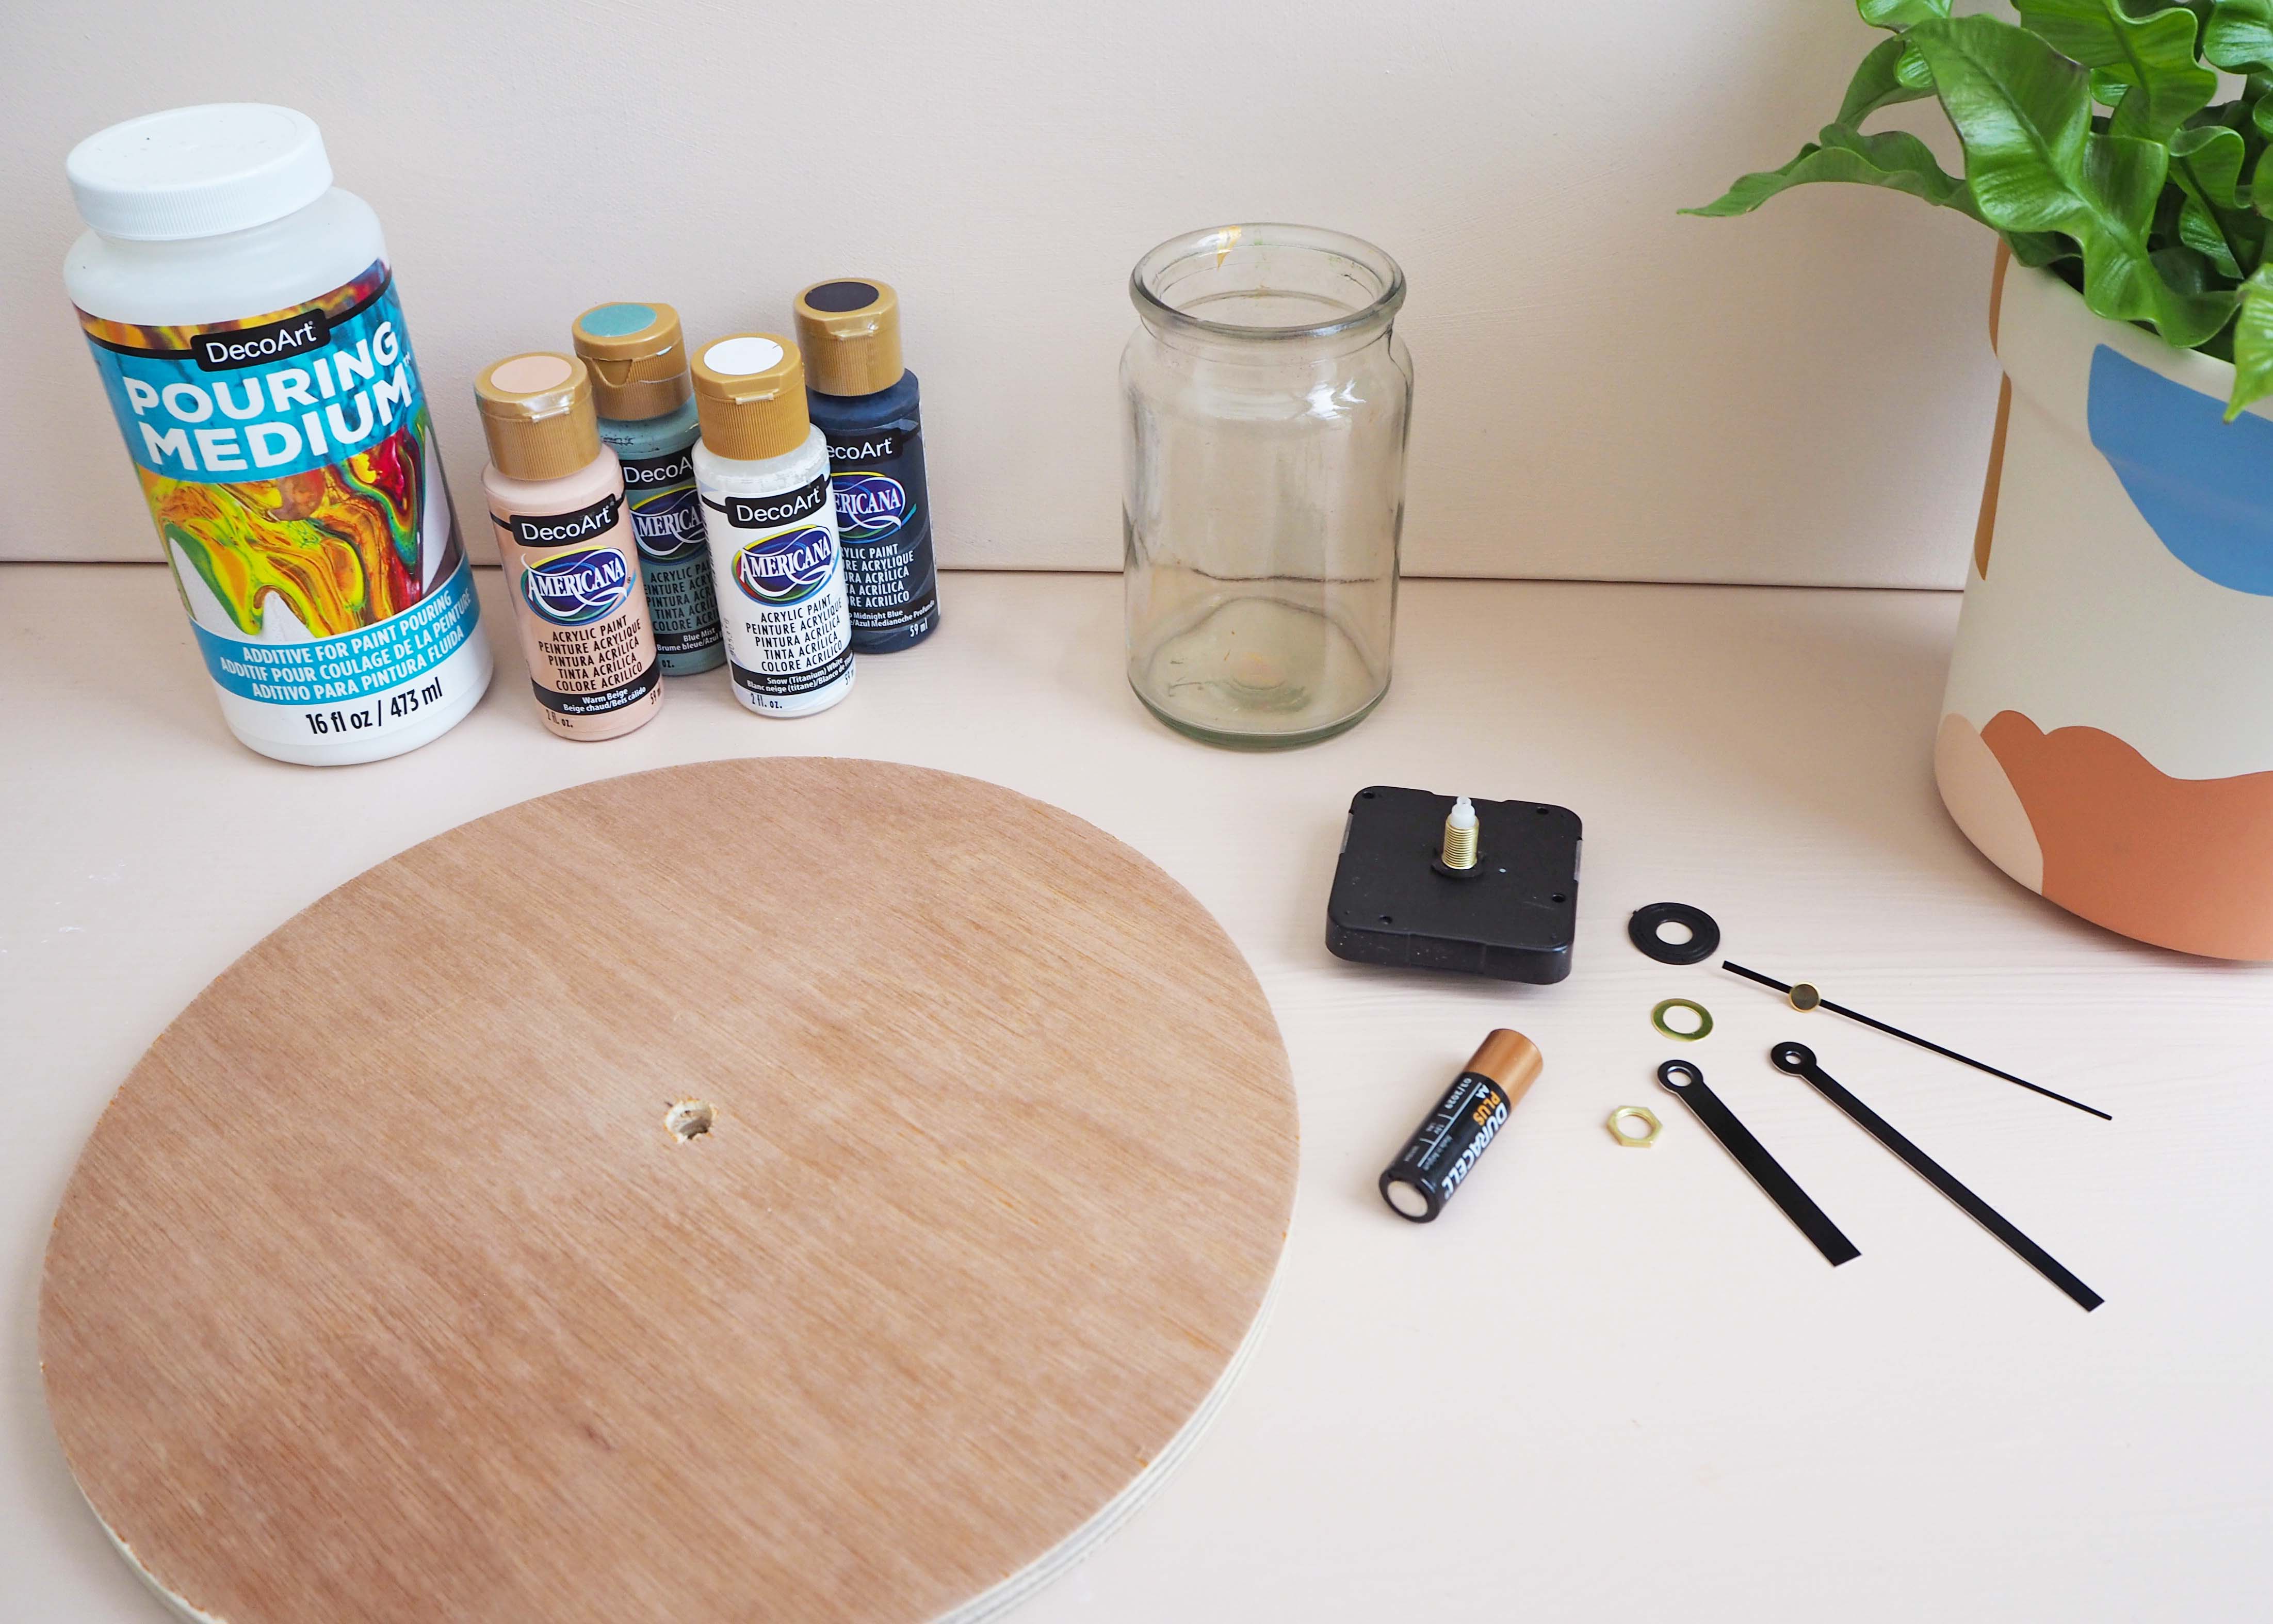
You will need
A clock face and mechanism
AA battery (or whichever battery your clock mechanism requires)
Pots/jars to mix paint
Paint brushes or sticks to stir
Something to protect your work surface (I am using baking paper)
Method
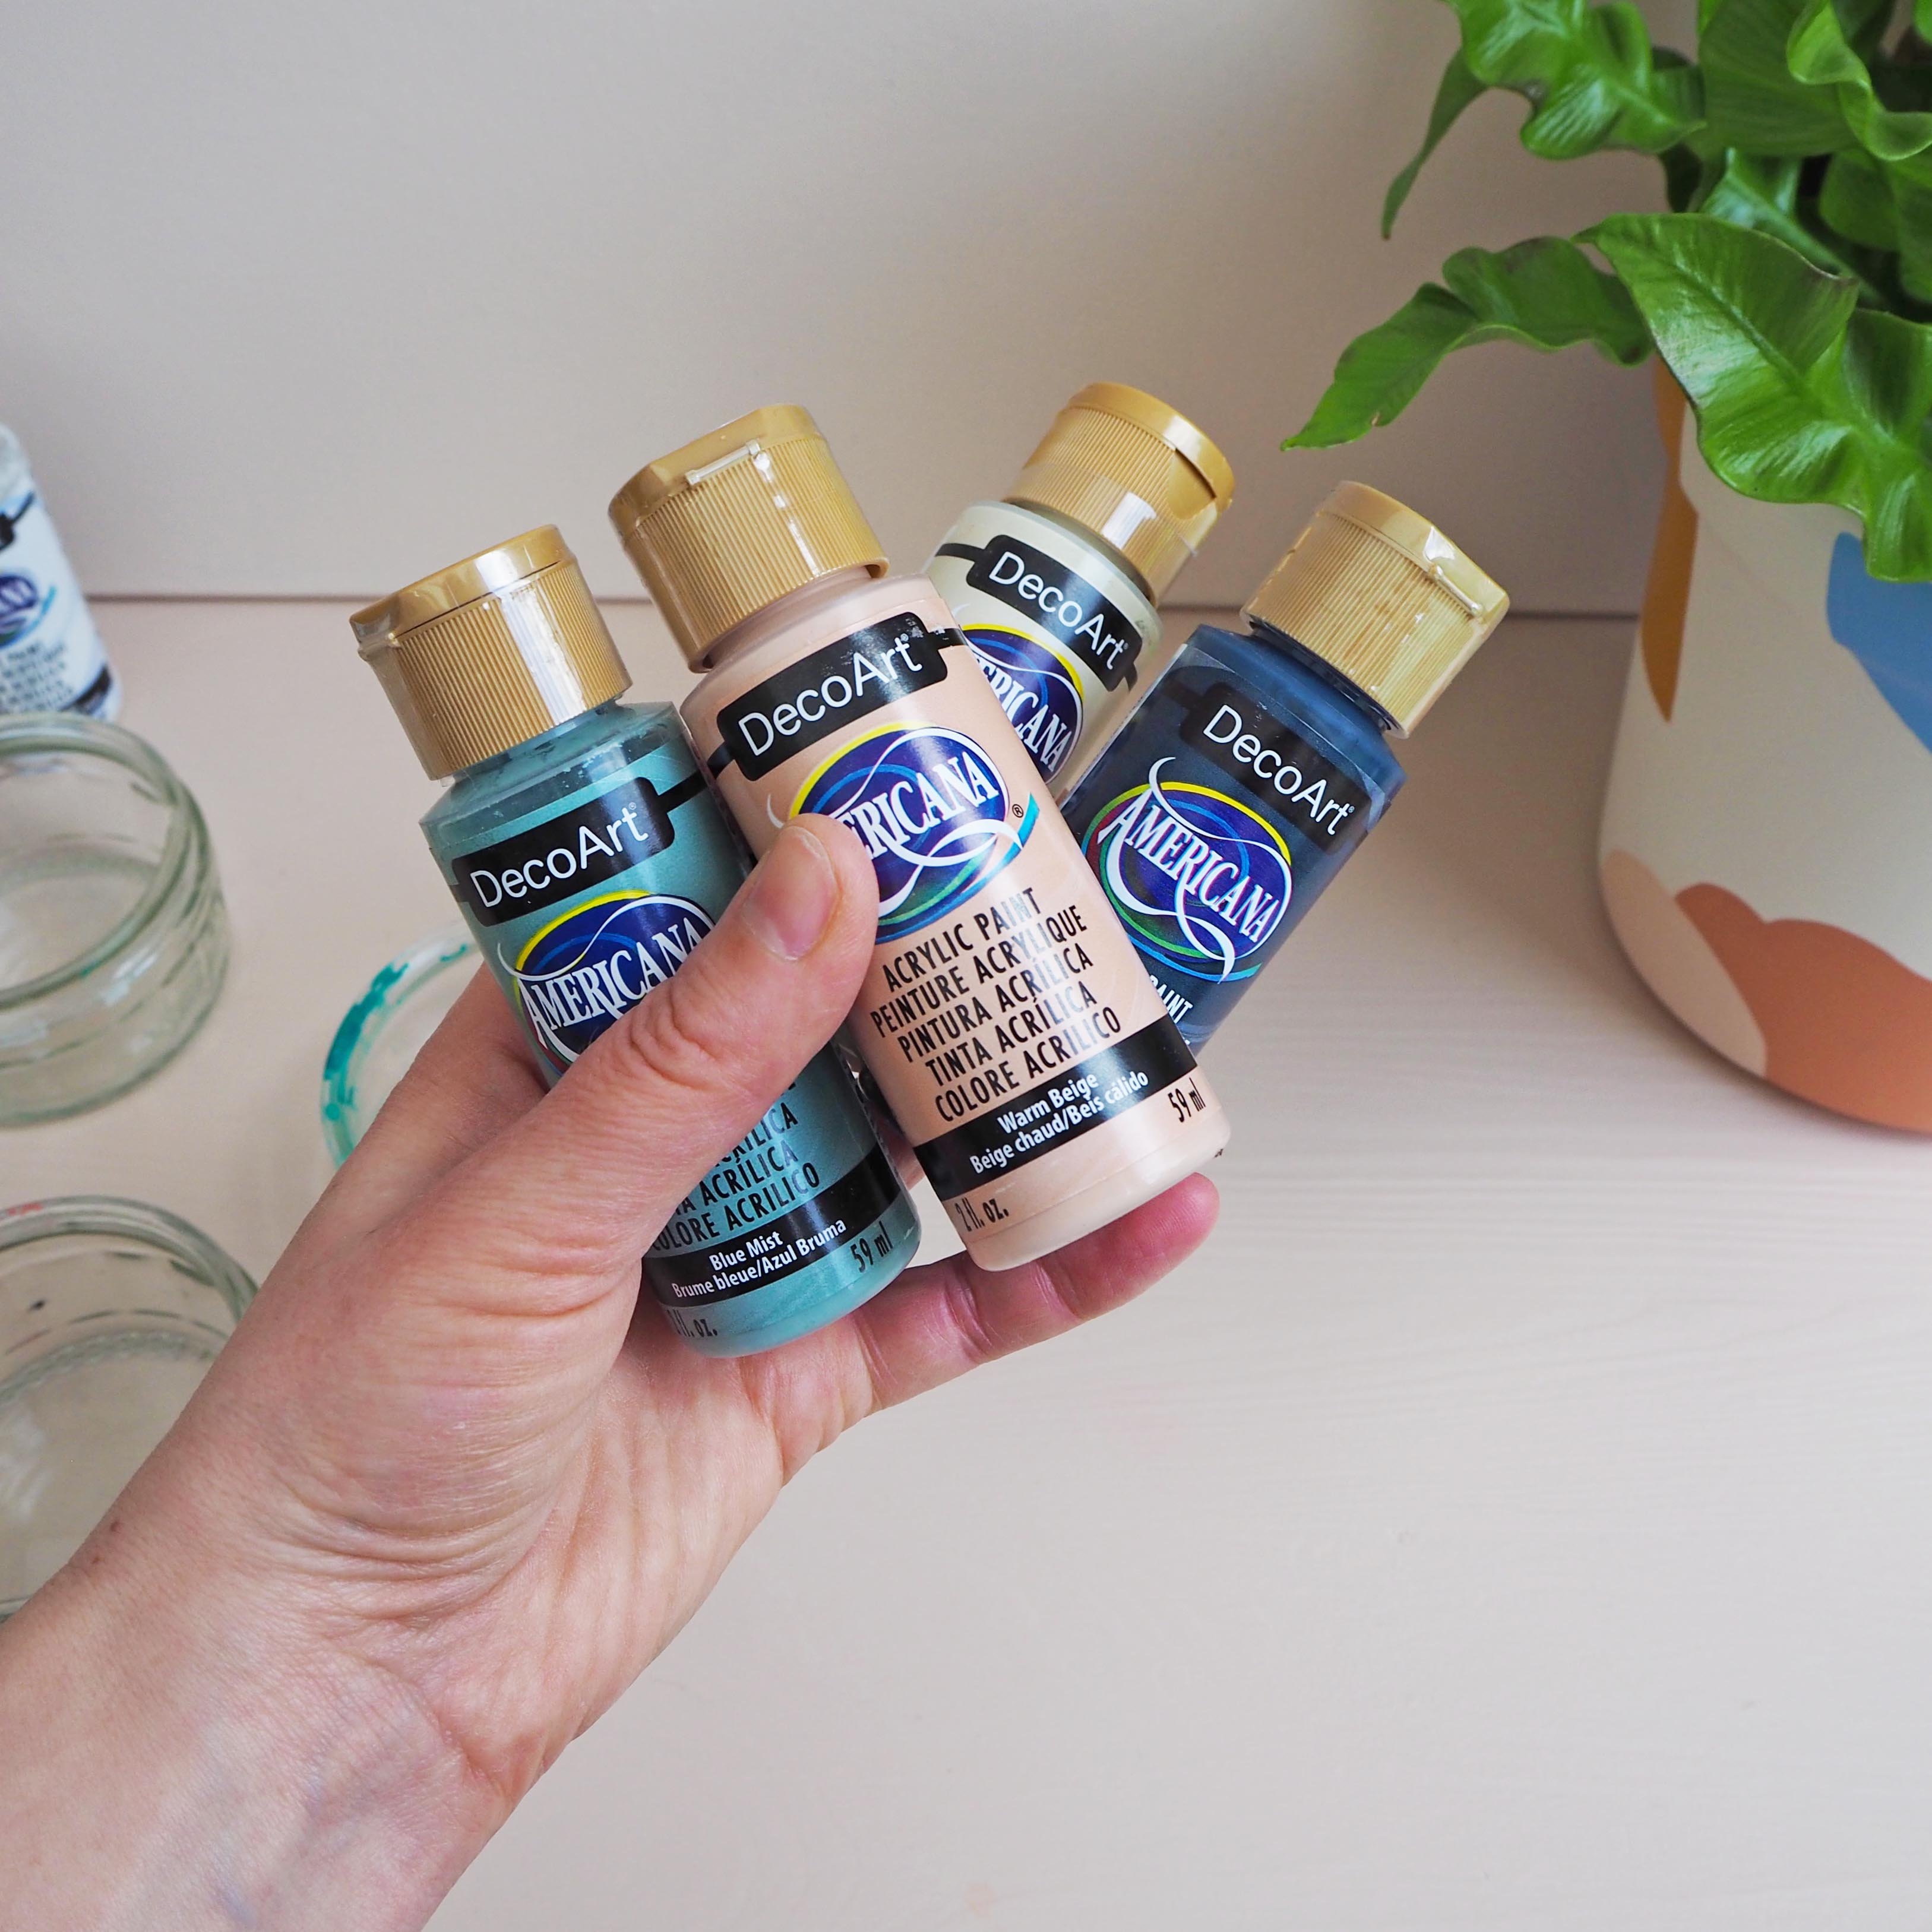
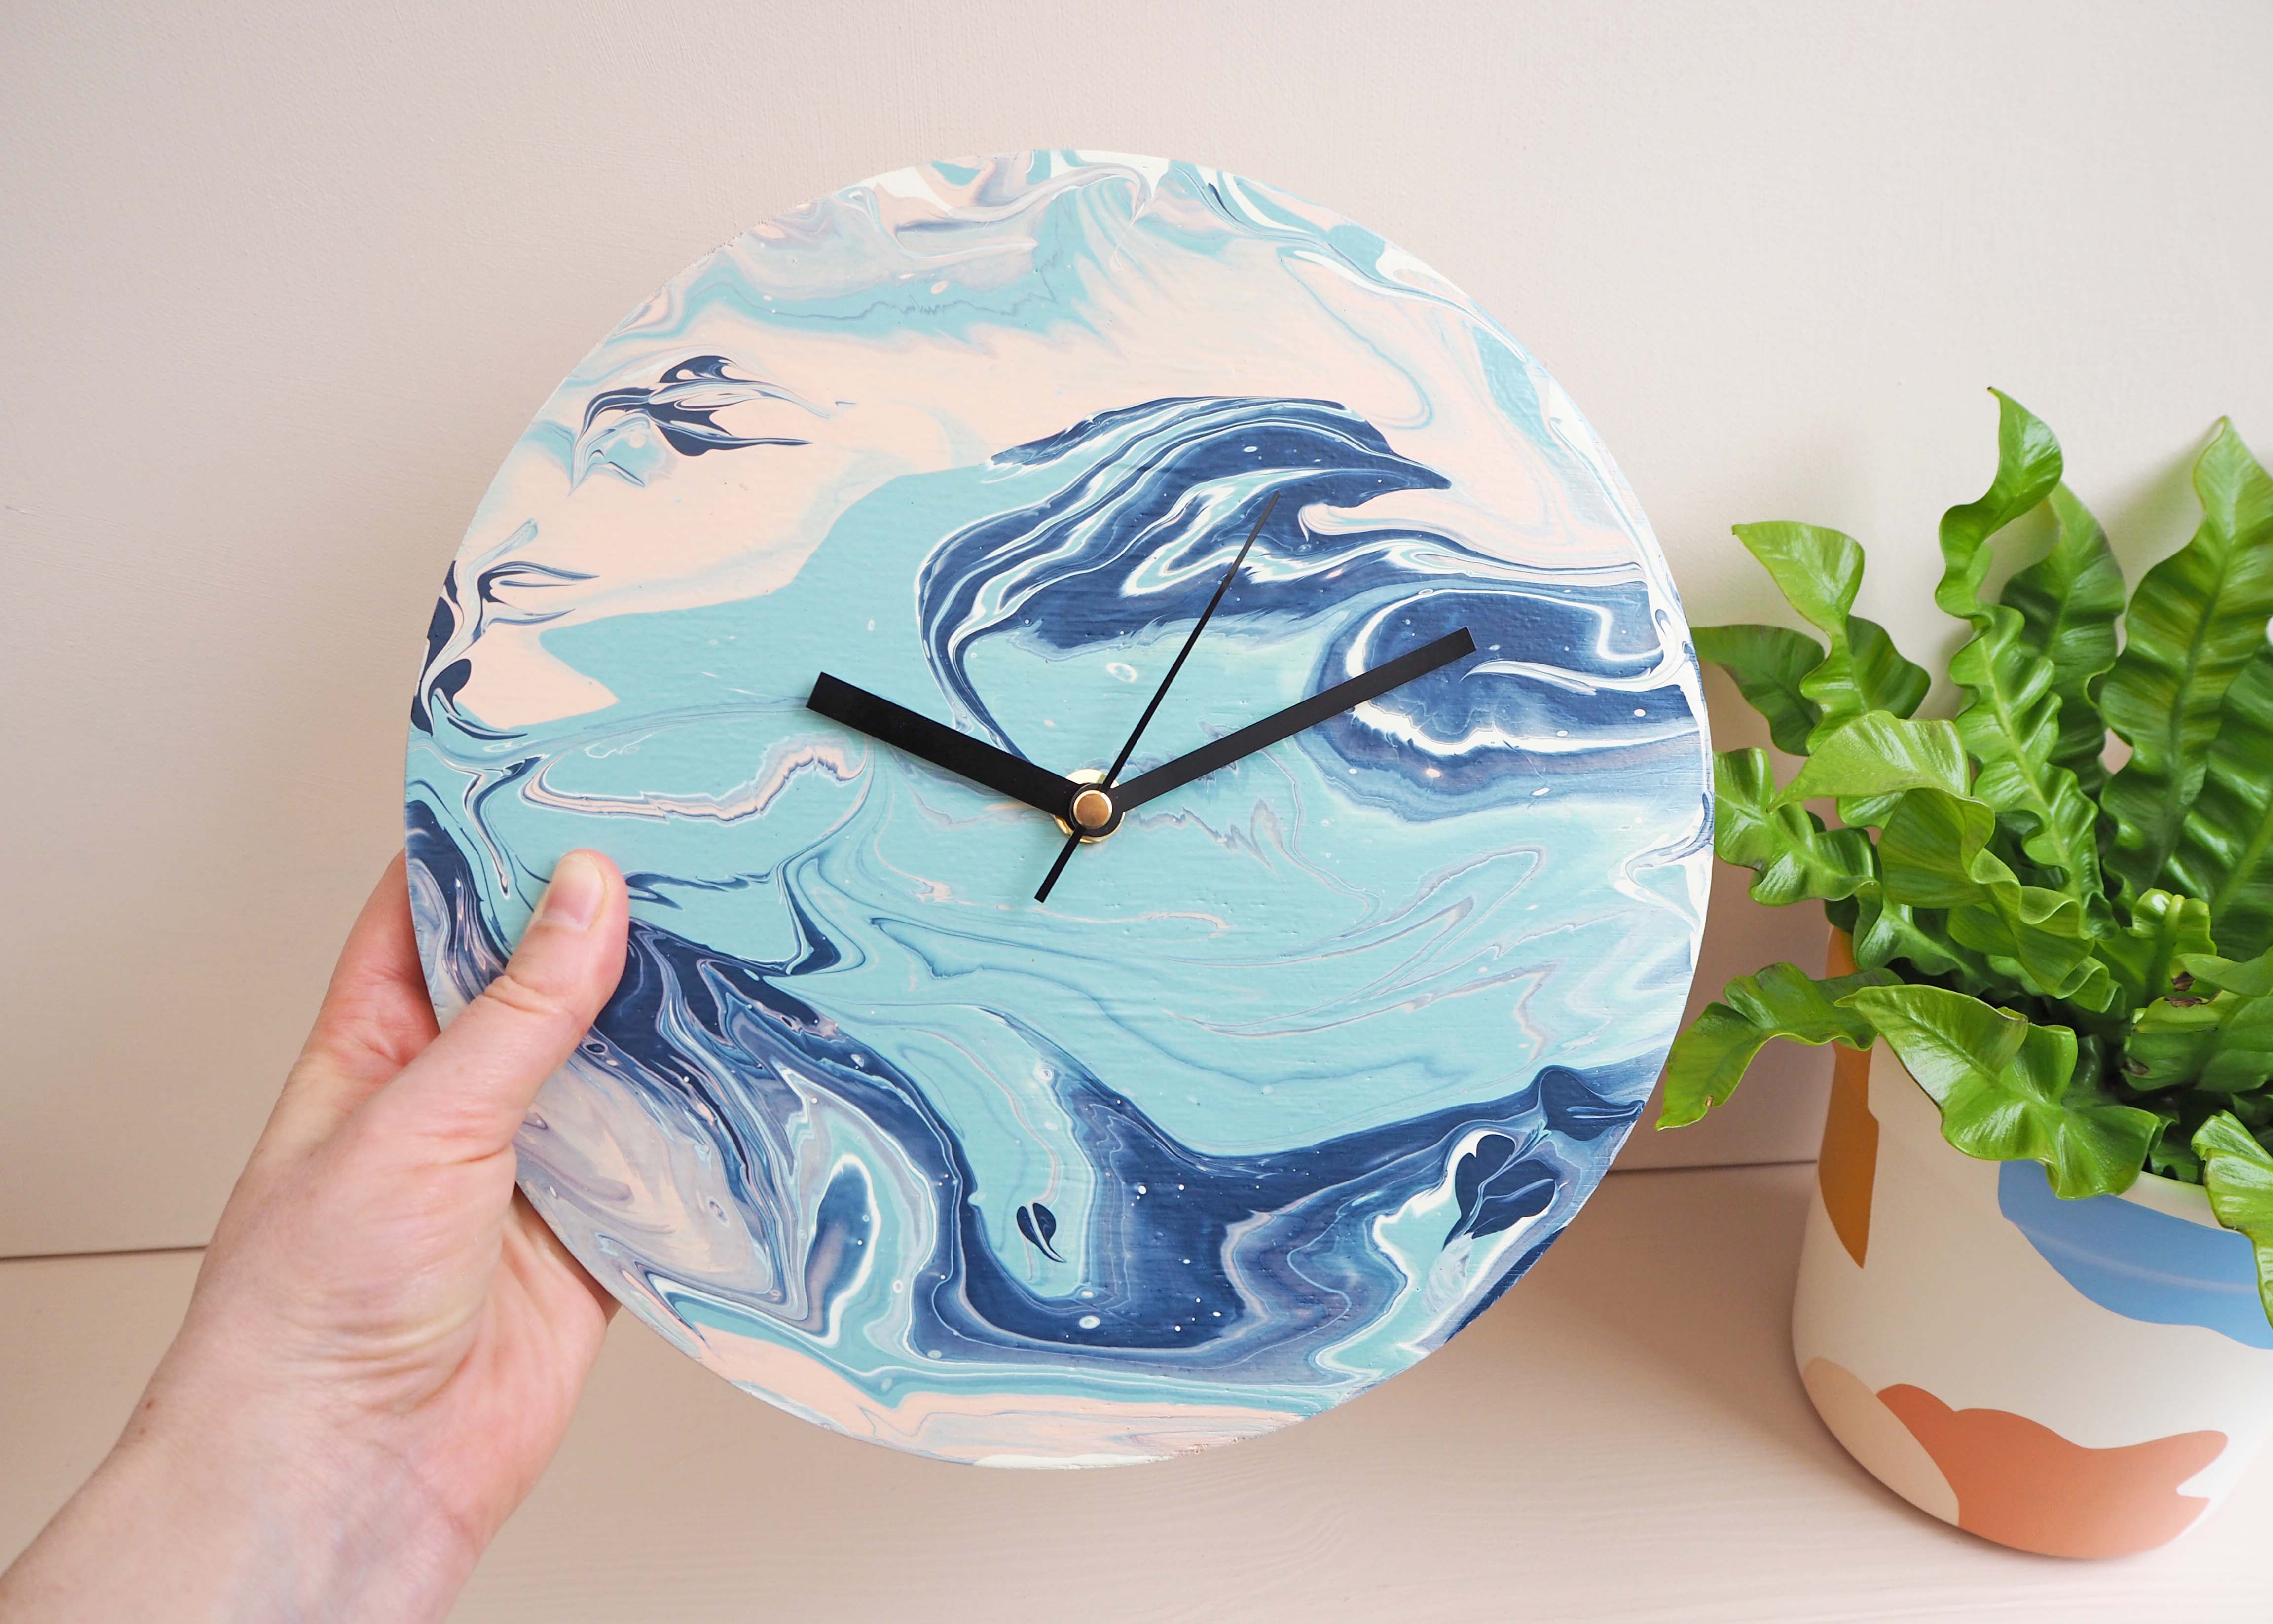
To start, select a few acrylic paint colours which you will work with. It’s quite nice to have a contrast between some darker and lighter colours. I have opted for a pale pink, dark blue, cream and a duck egg blue. You could use more or less colour if you prefer.
When choosing colours it's also worth thinking about how certain colours blend together as you may find further colours are created when mixed (ie yellow and blue will make green). It’s quite fun to experiment!
Pour a little of each acrylic colour in to separate jars or pots. You will then add your pouring medium into each jar and stir together until you create a runny consistency a bit like double cream.
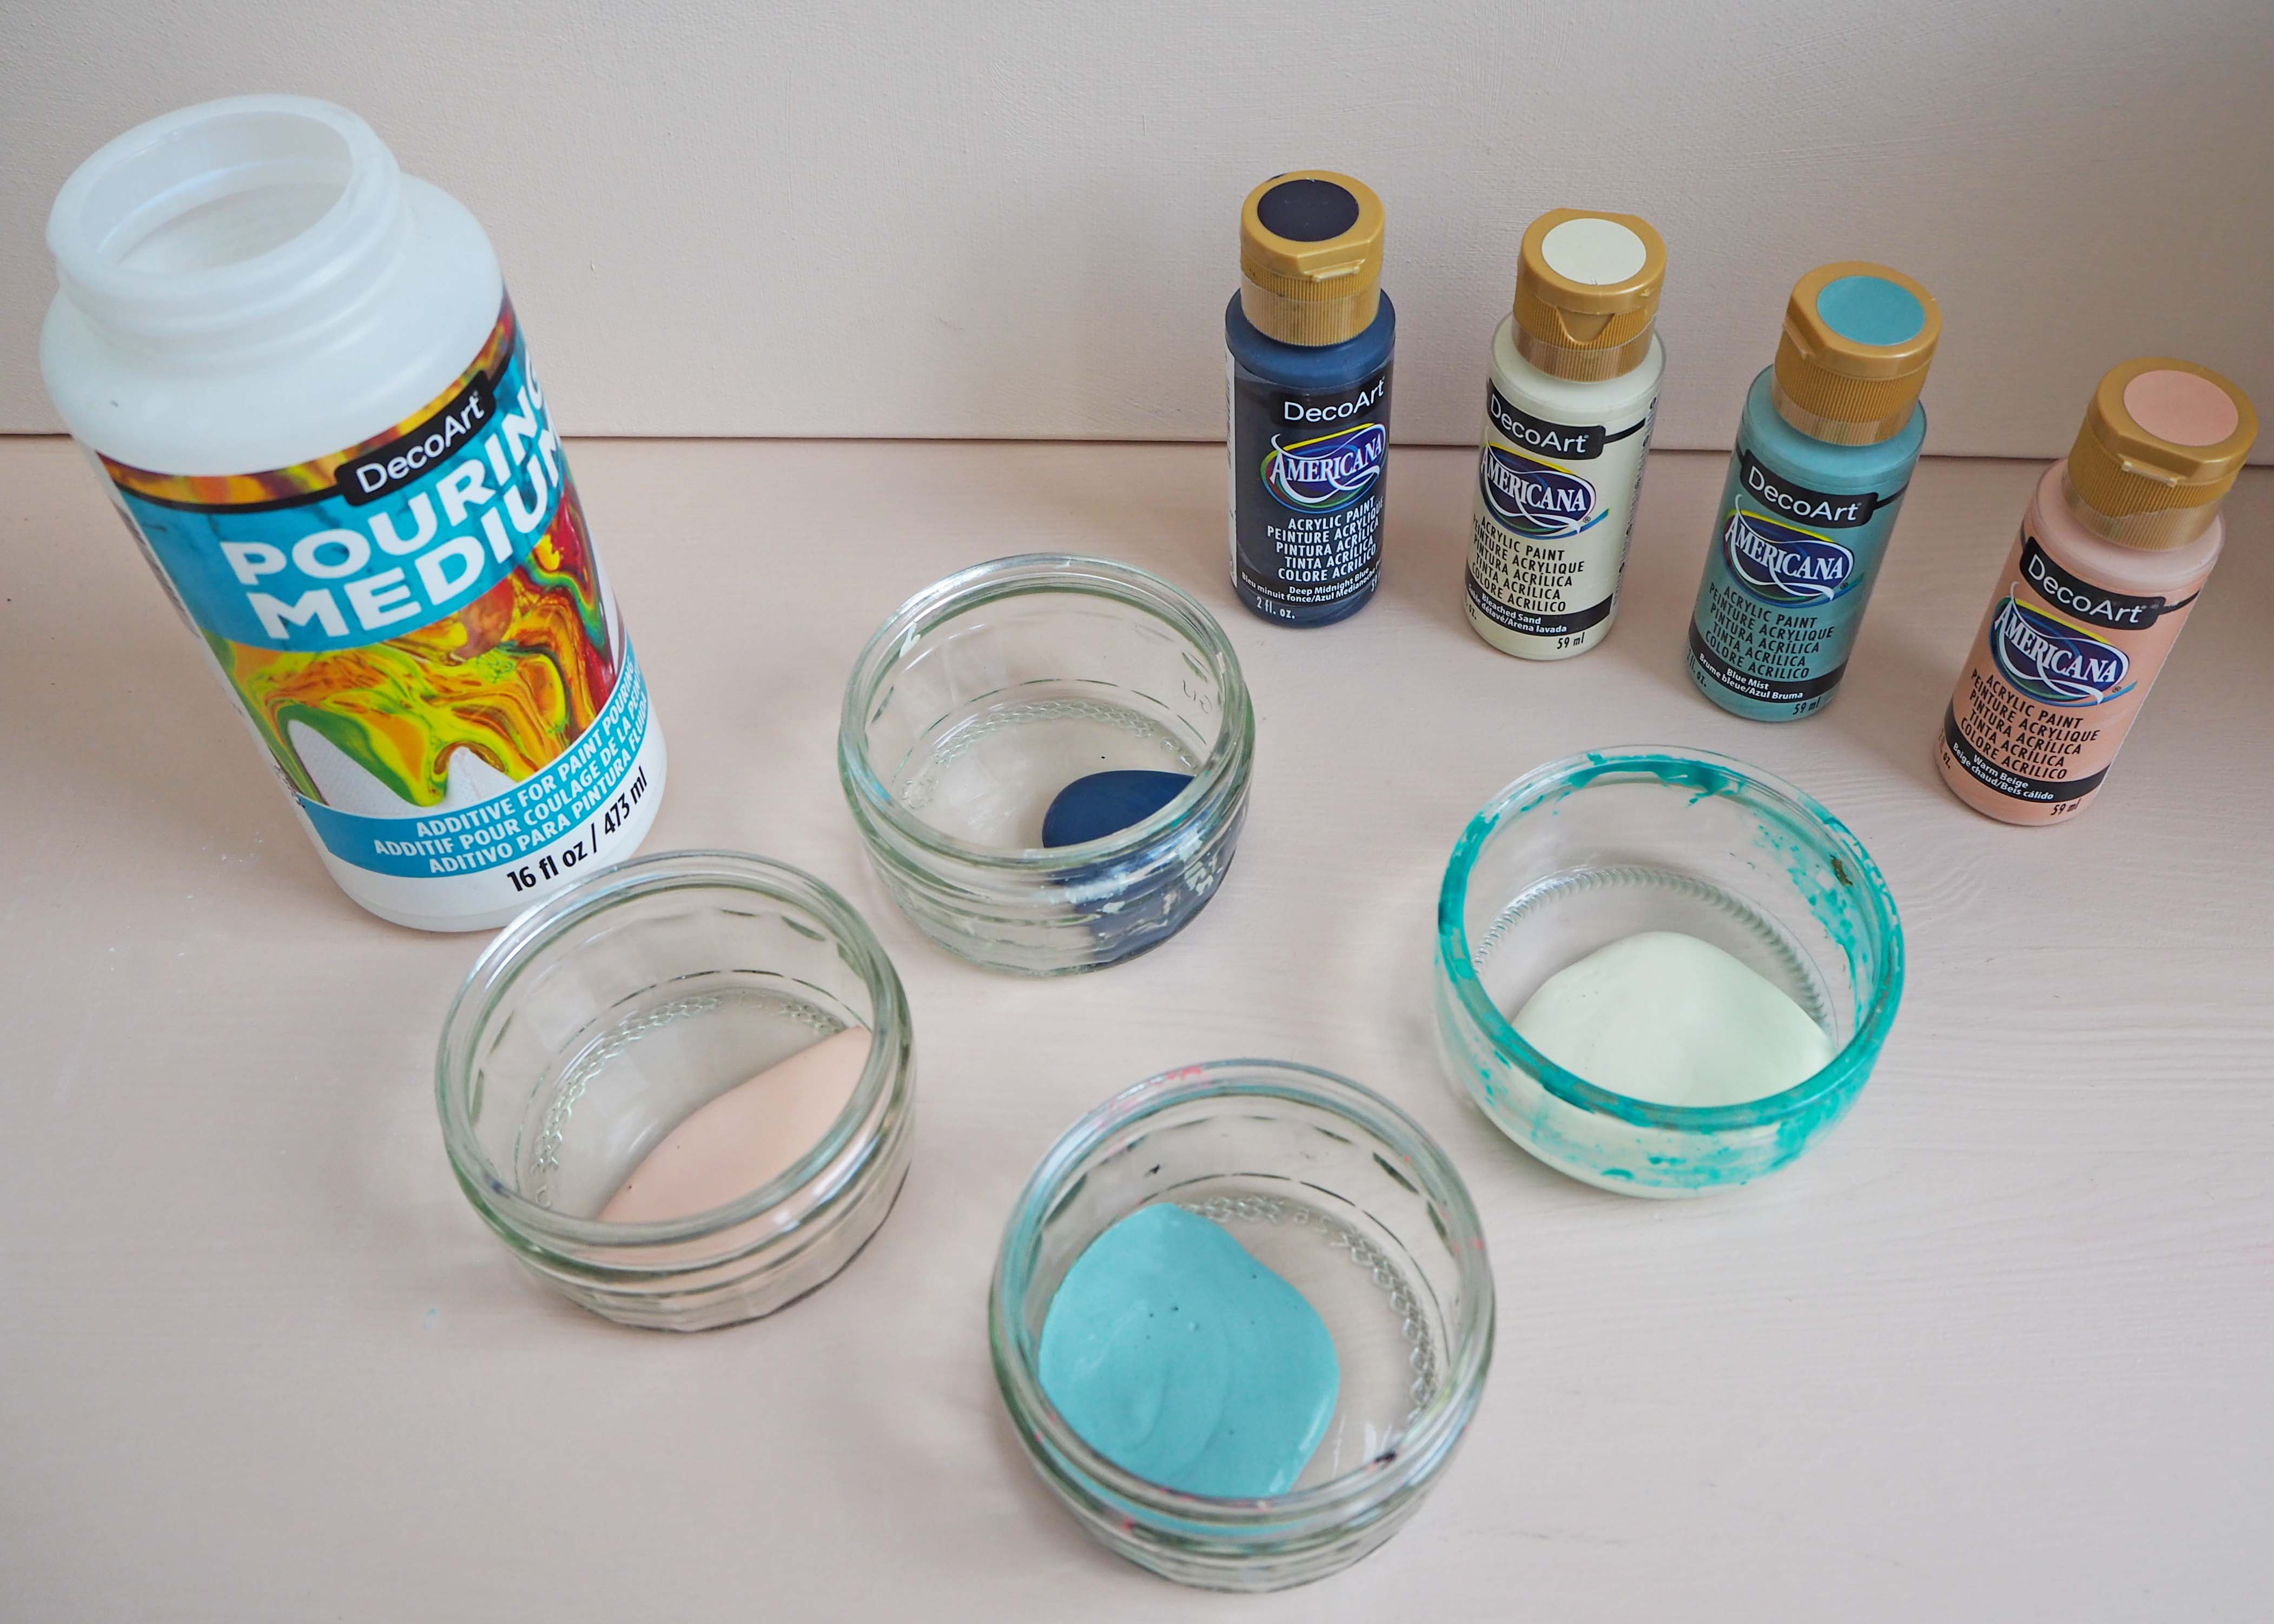
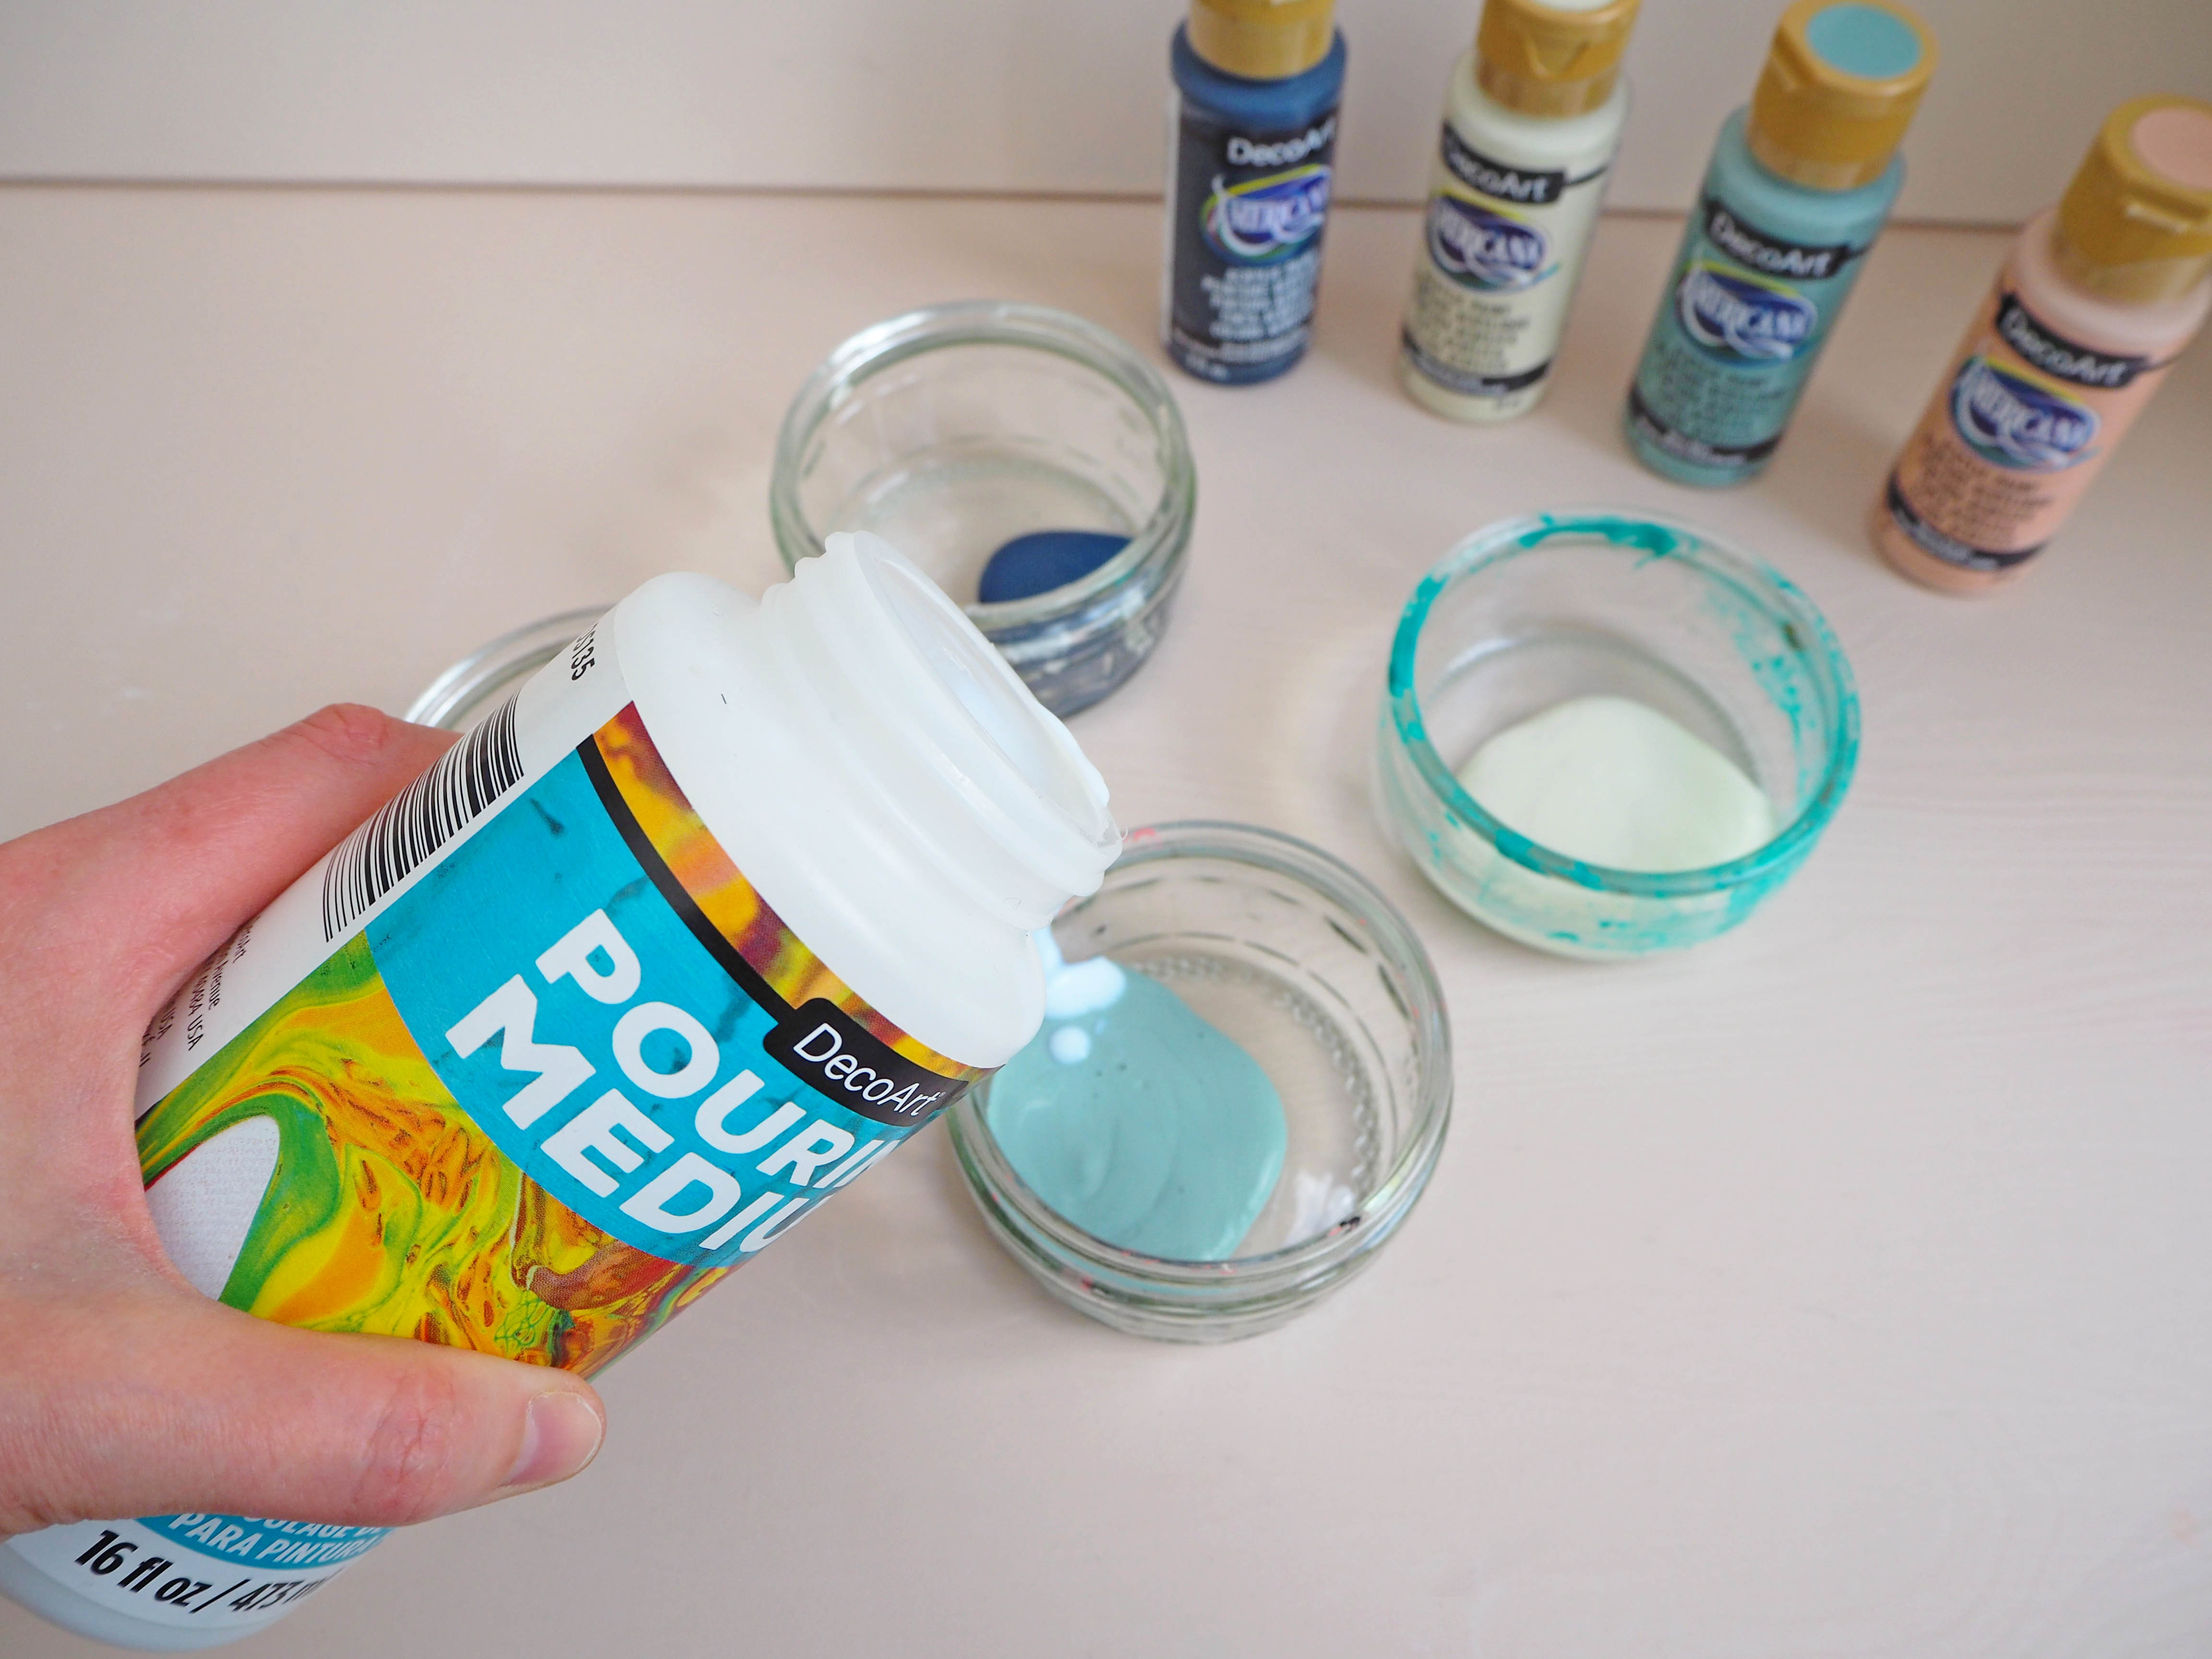
I am using Decoart Americana acrylics and pouring medium so I am mixing them together at a ratio of 1:1 as per their instructions. It's worth checking the instructions of the medium and paints you are using to make sure you have the correct ratio as each brand could vary.
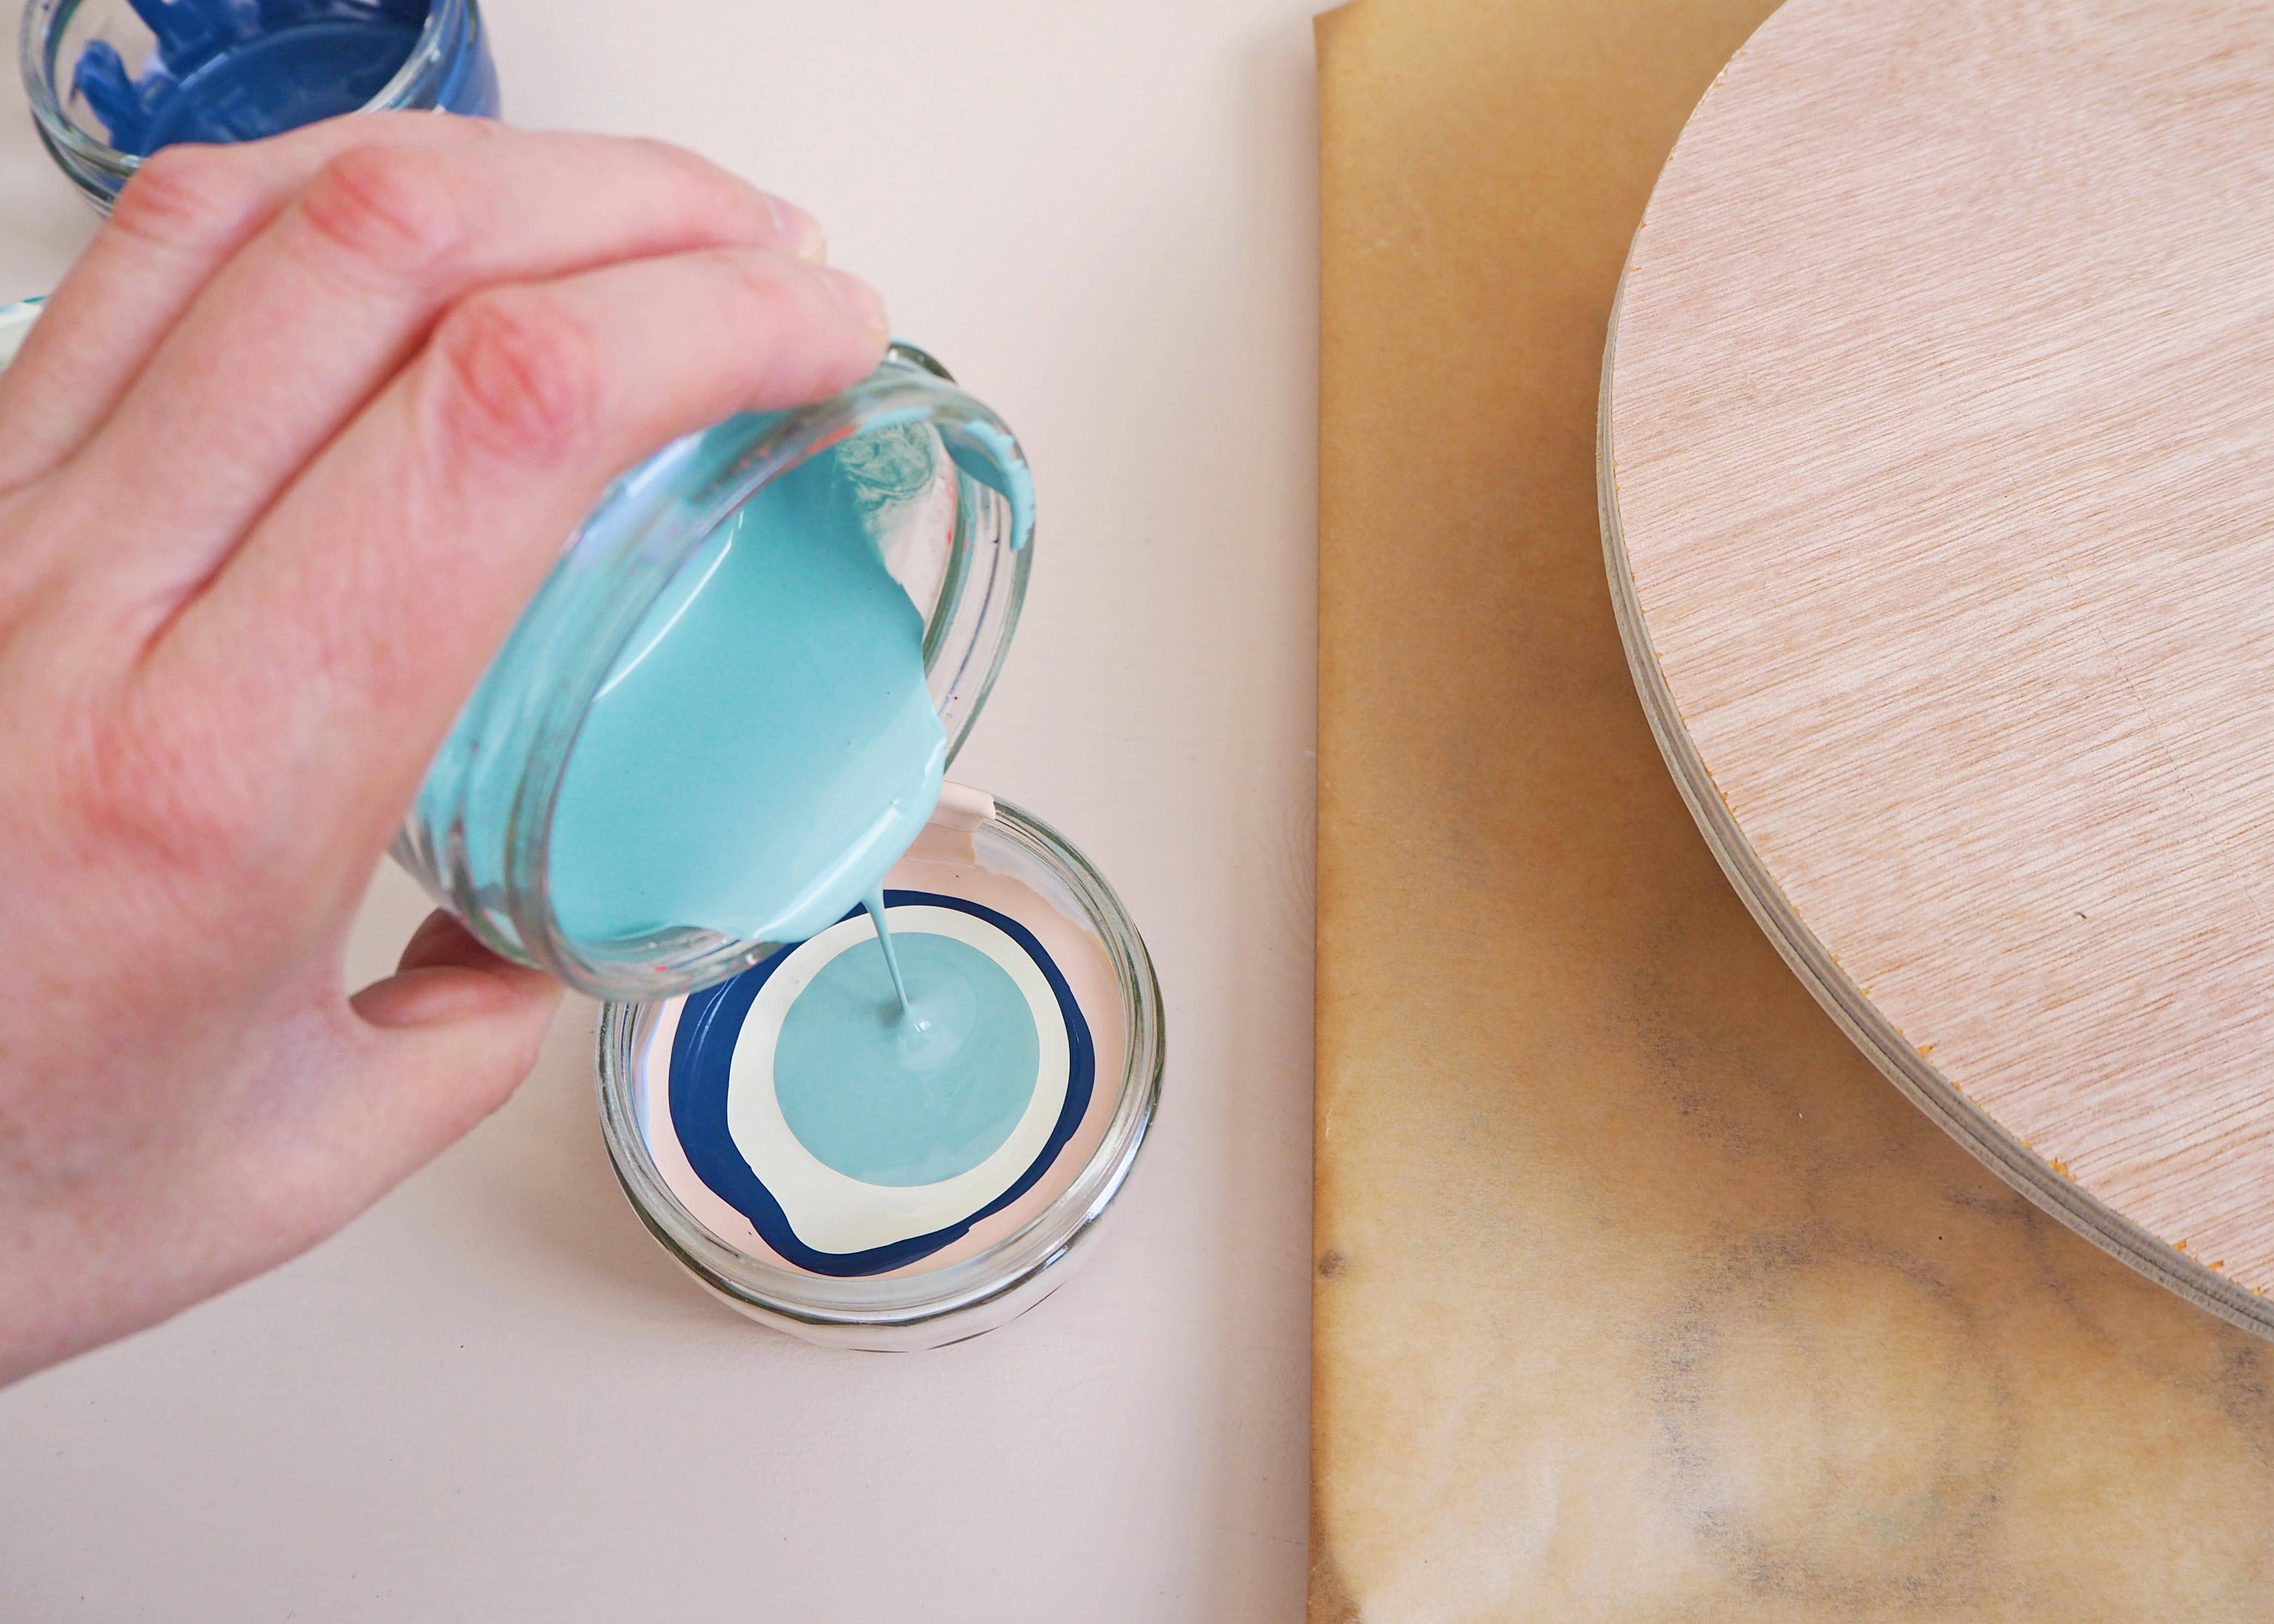
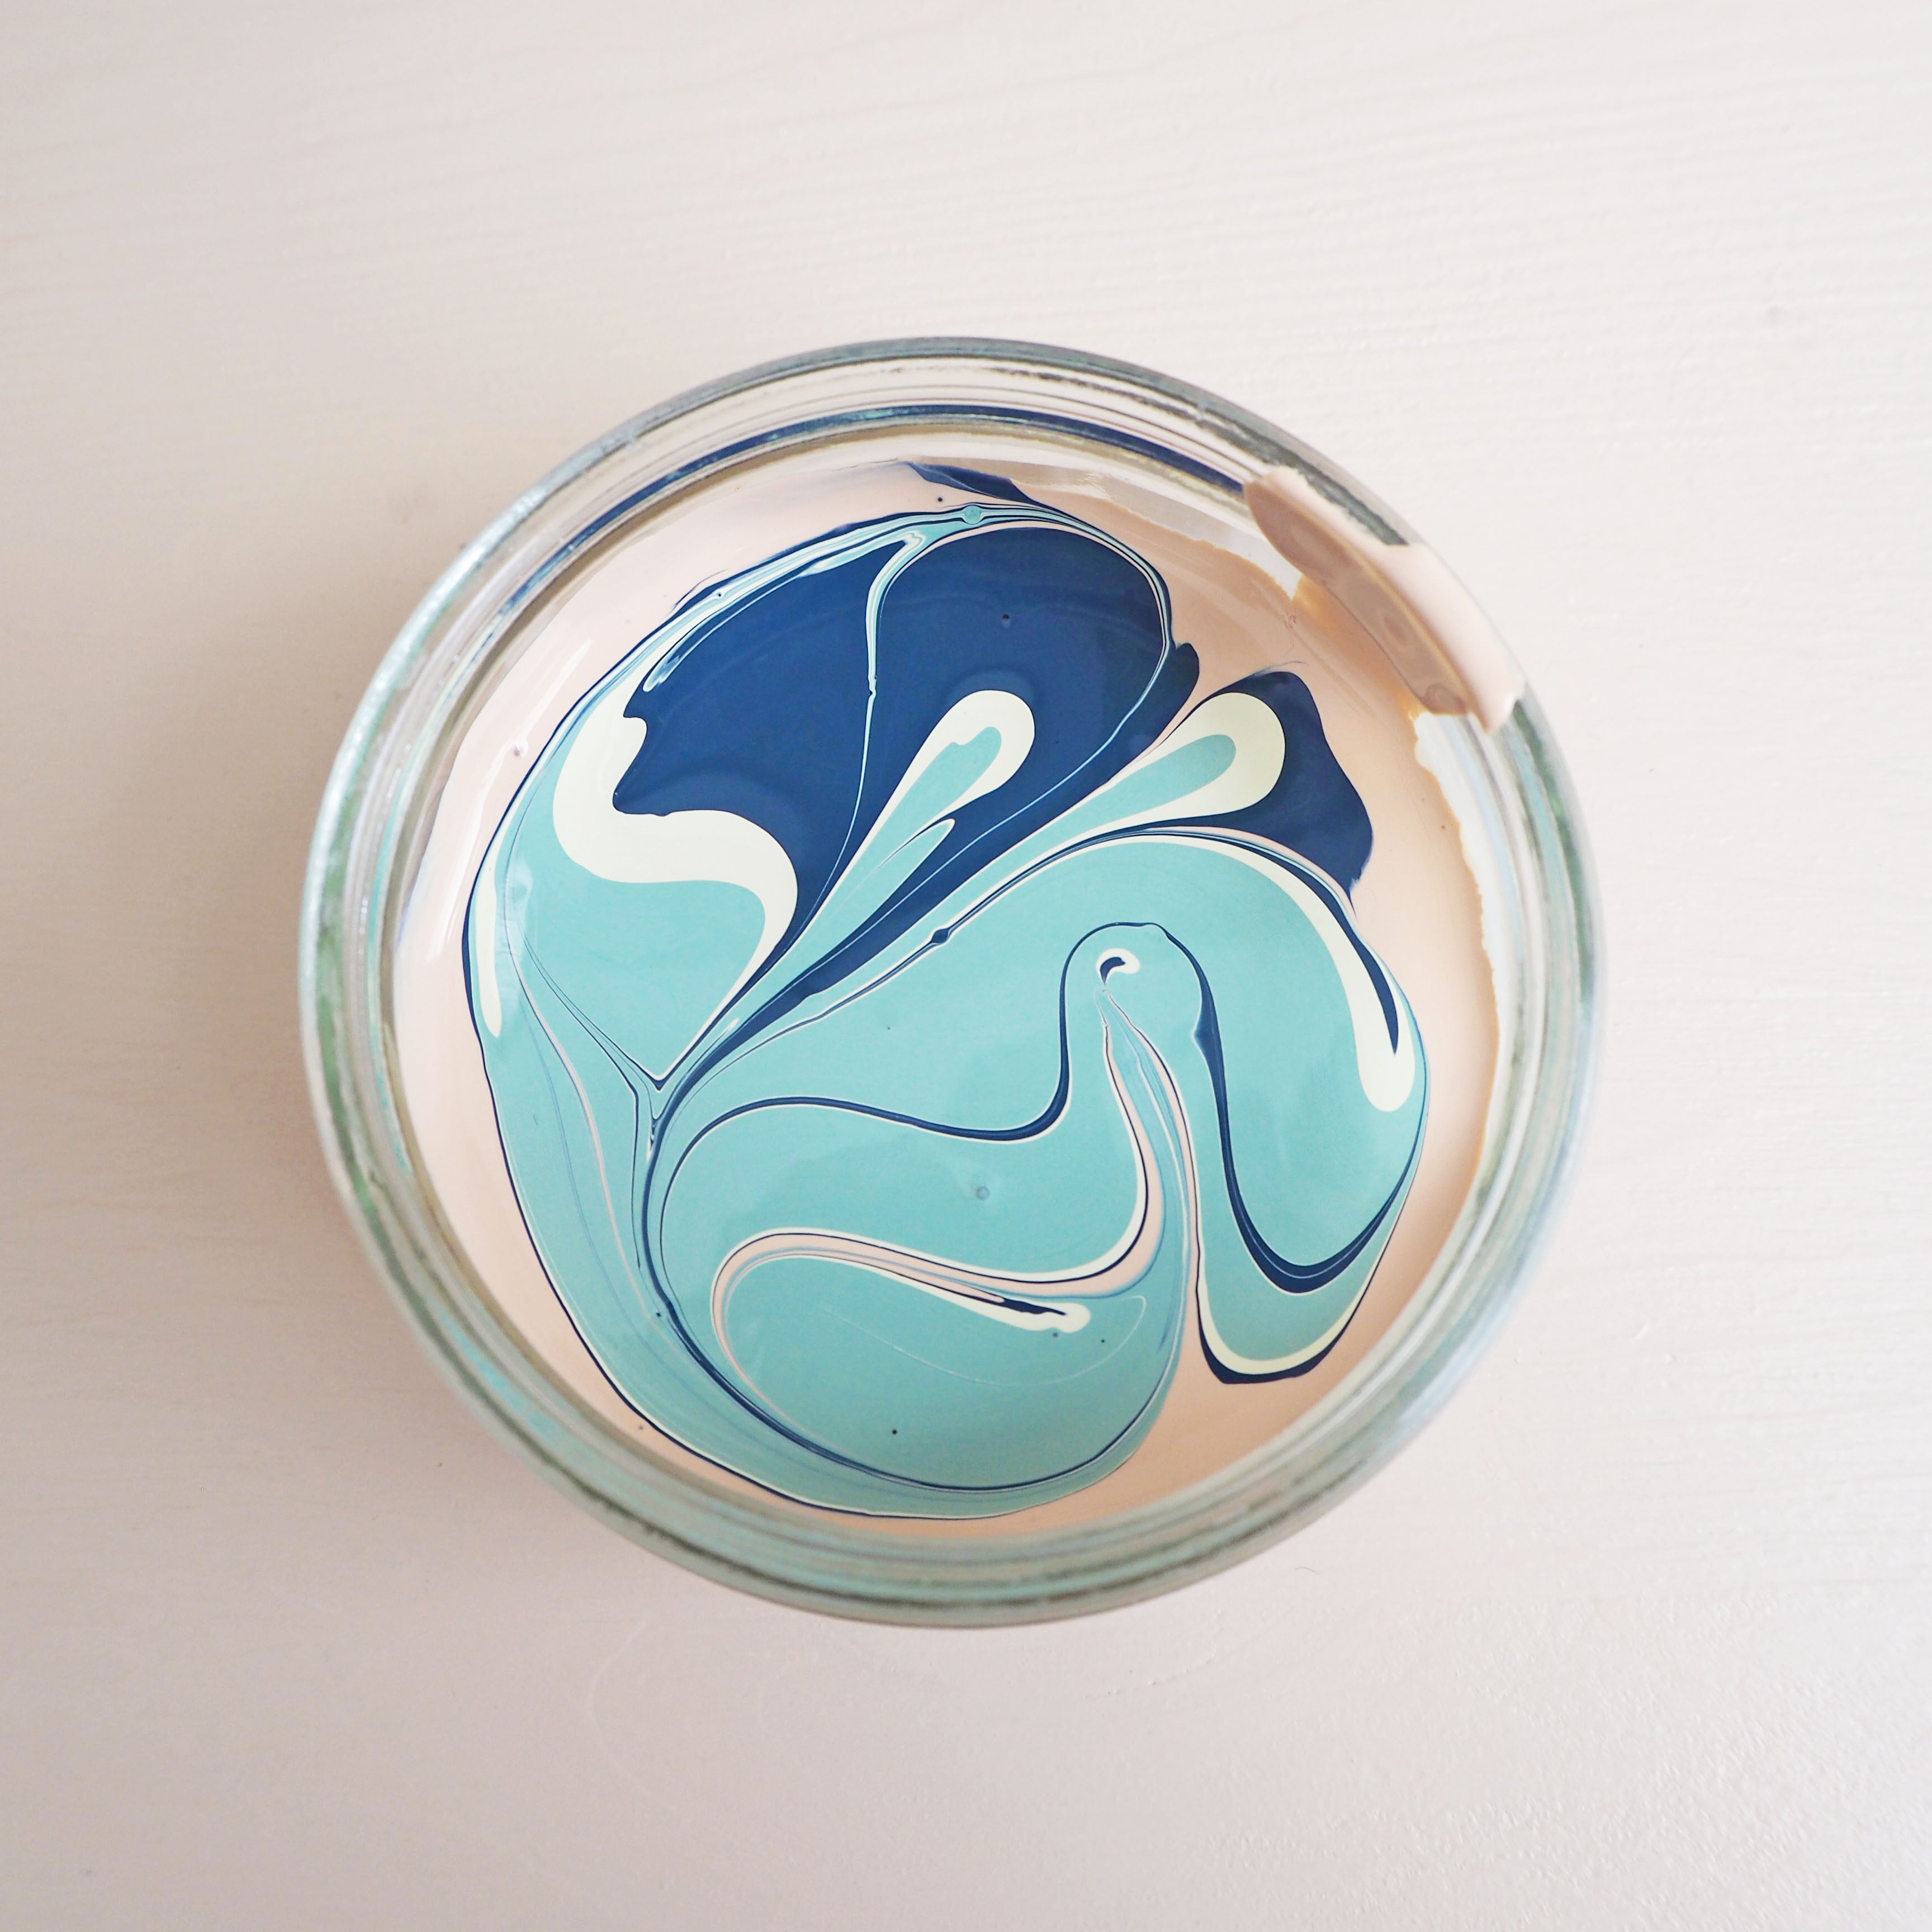
Once fully mixed you will pour each colour into one jar so they are all in the same pot. I have given the colours a slight stir after doing this to give the marble effect a bit of a head start, but be careful not to mix the colours too much or they will blend together.
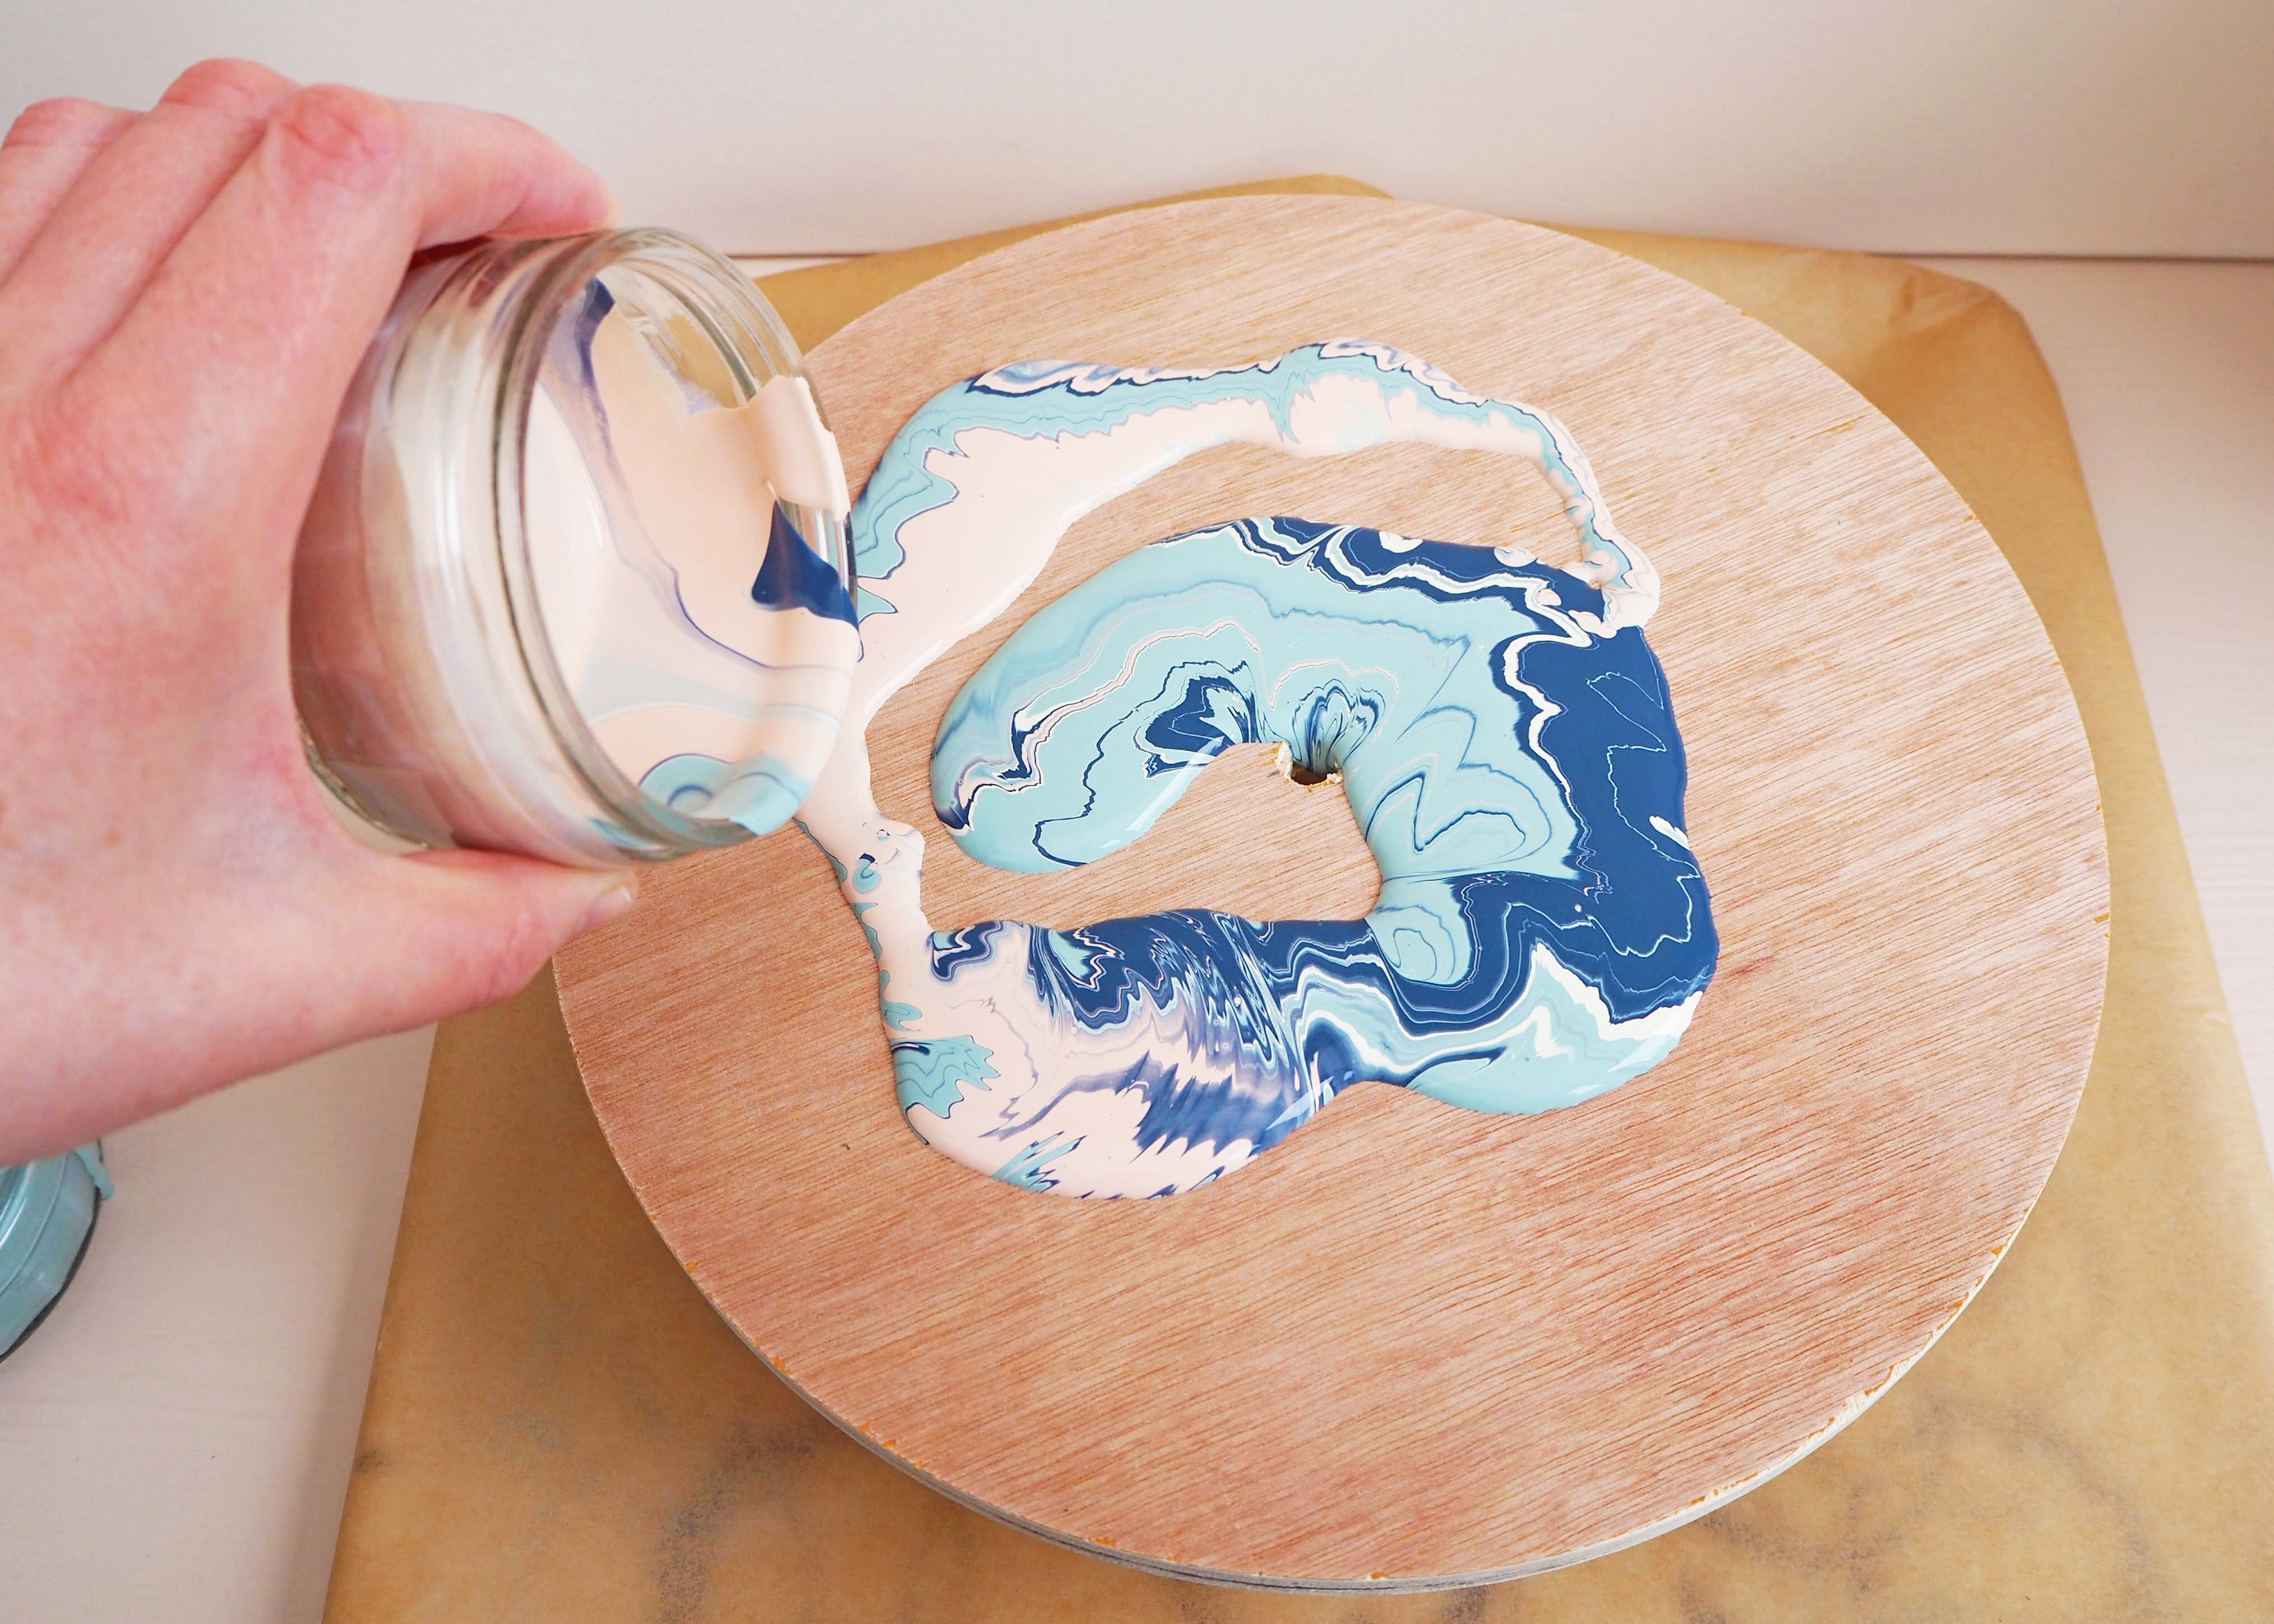
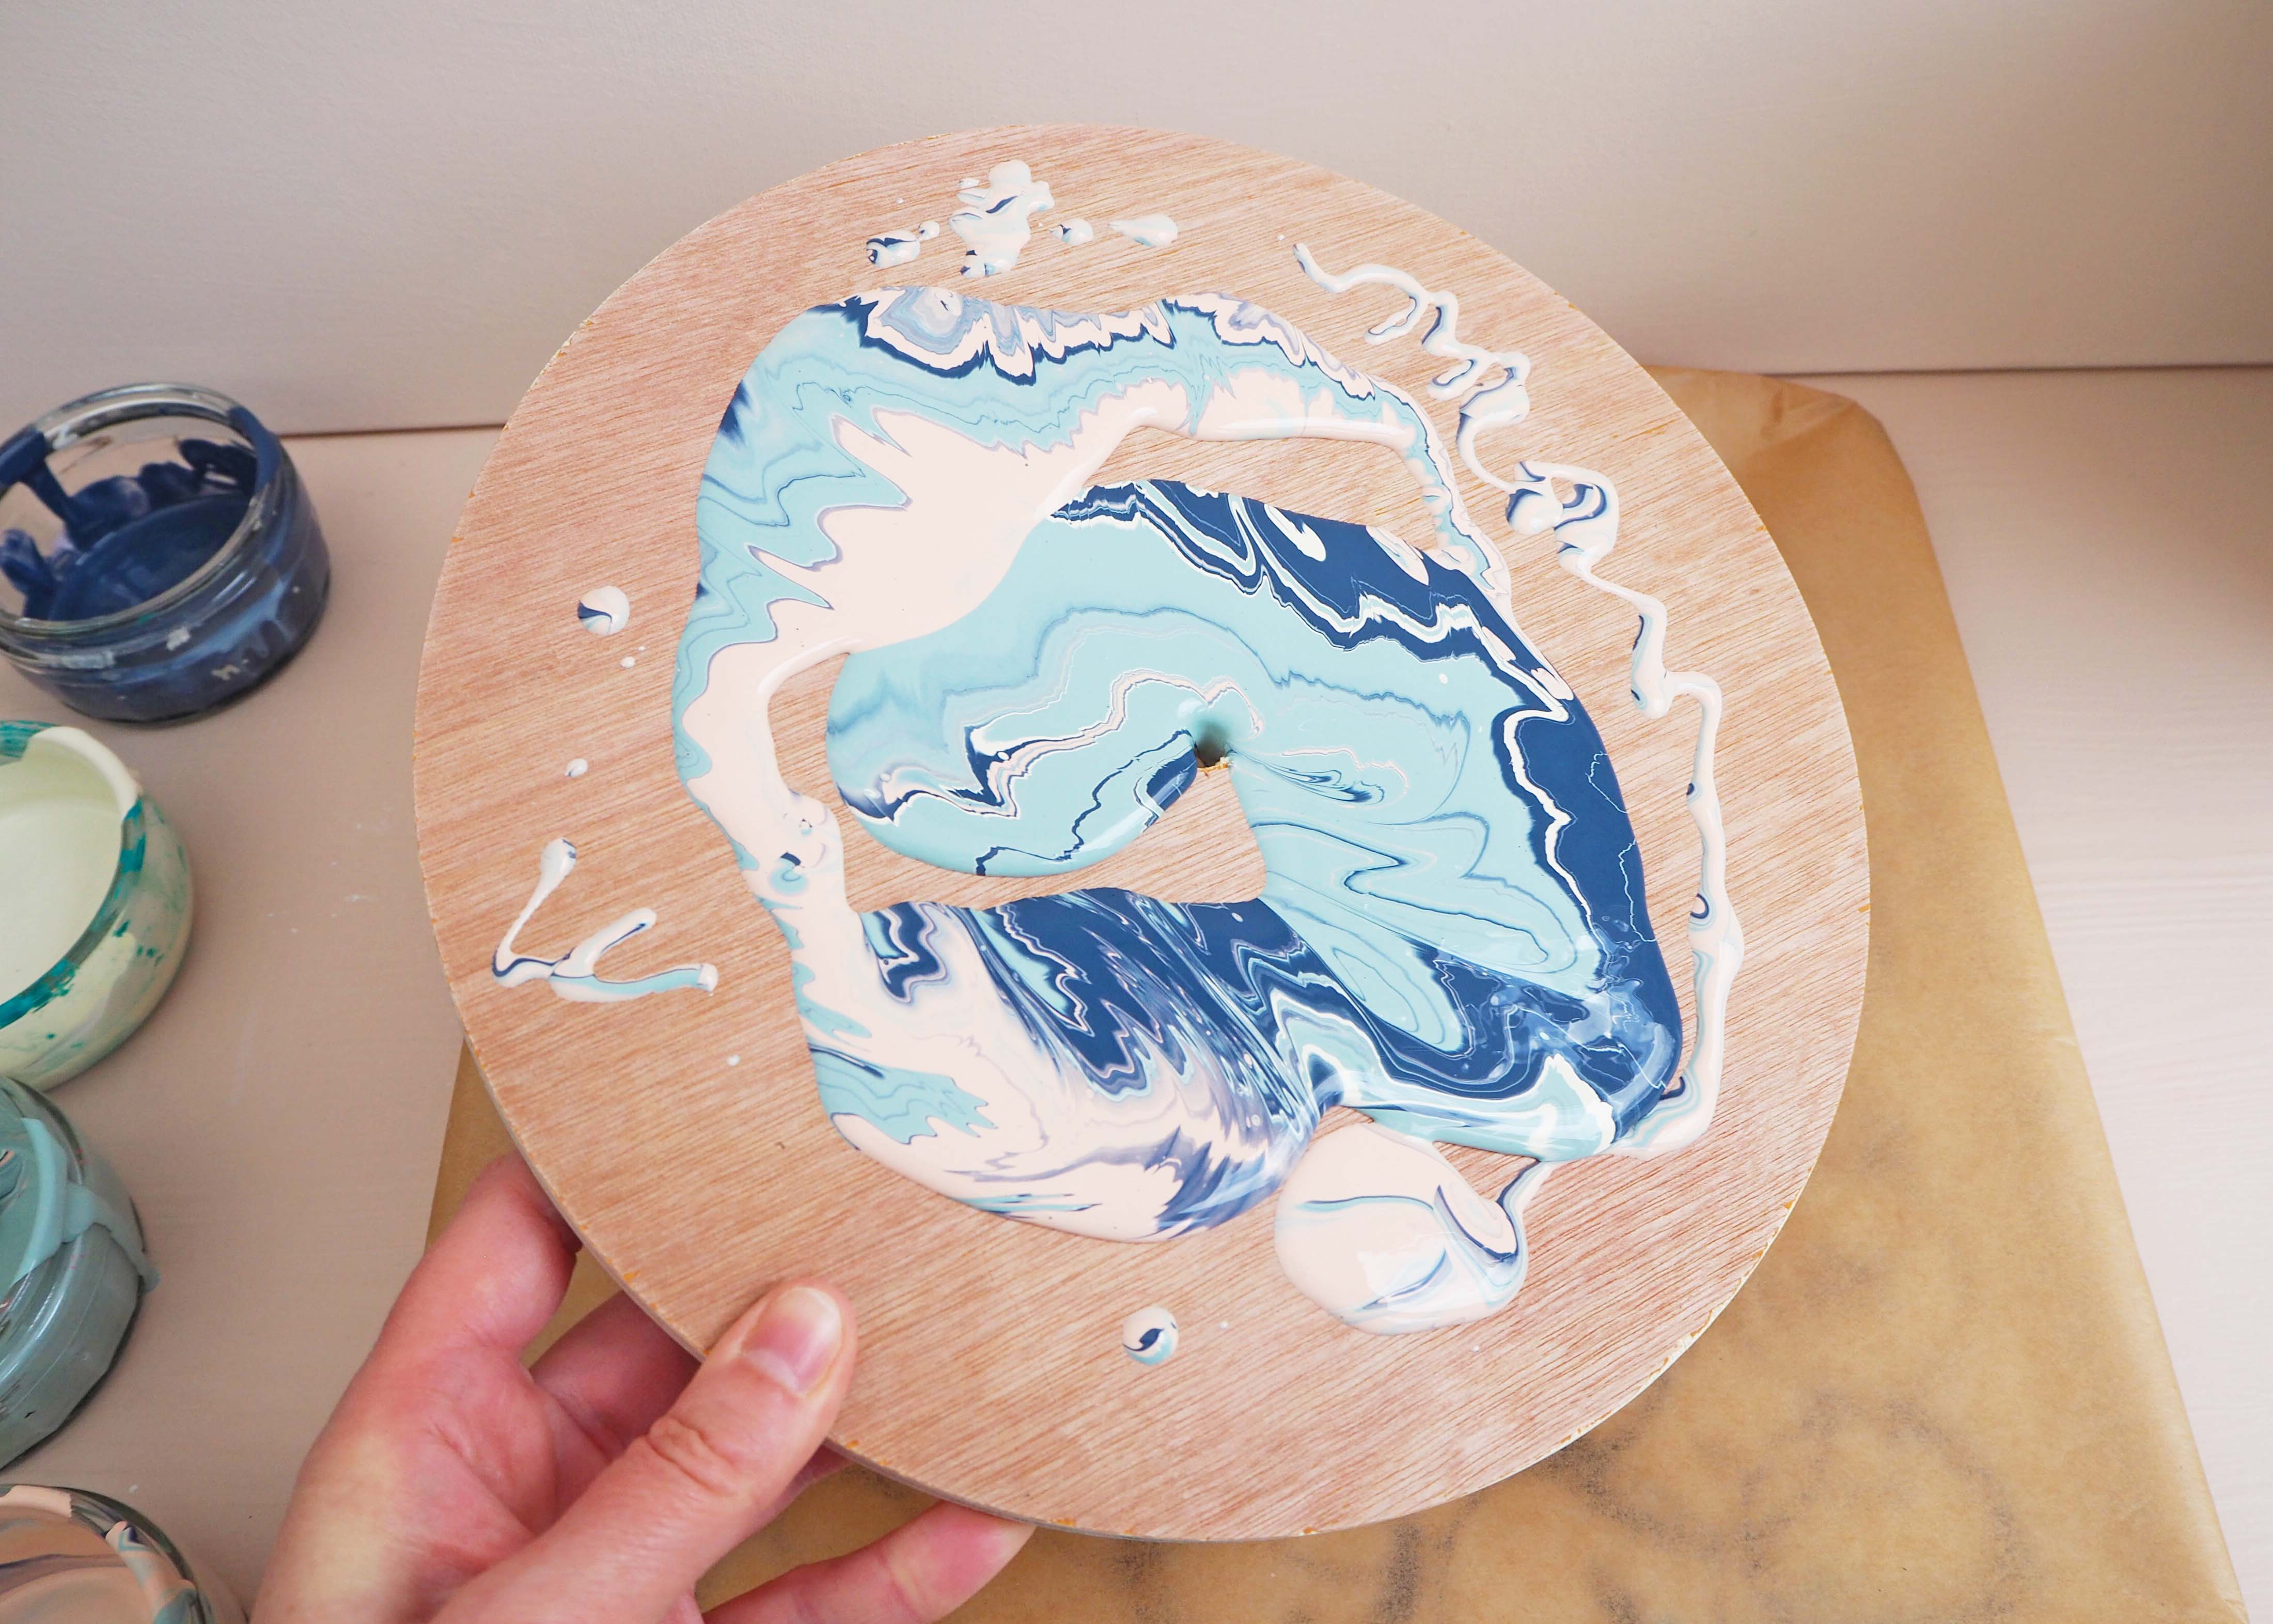
Make sure your work surfaces are protected as this next step is very messy! Take the clock face and balance it on an empty jar or something to raise it off the surface of your table. This will make it a little easier to manoeuvre whilst the paint blends, and it will also allow the paint to drip of the edge of the clock freely.
Now the fun part! Take your jar of paint and carefully pour it over the clock face. Slowly tilt your clock face to each side to allow the paint to run over the face, creating patterns as it moves. You want to eventually cover the whole face with paint. If you are having any trouble getting the paint to reach the edges you can also dribble some more paint into those areas.
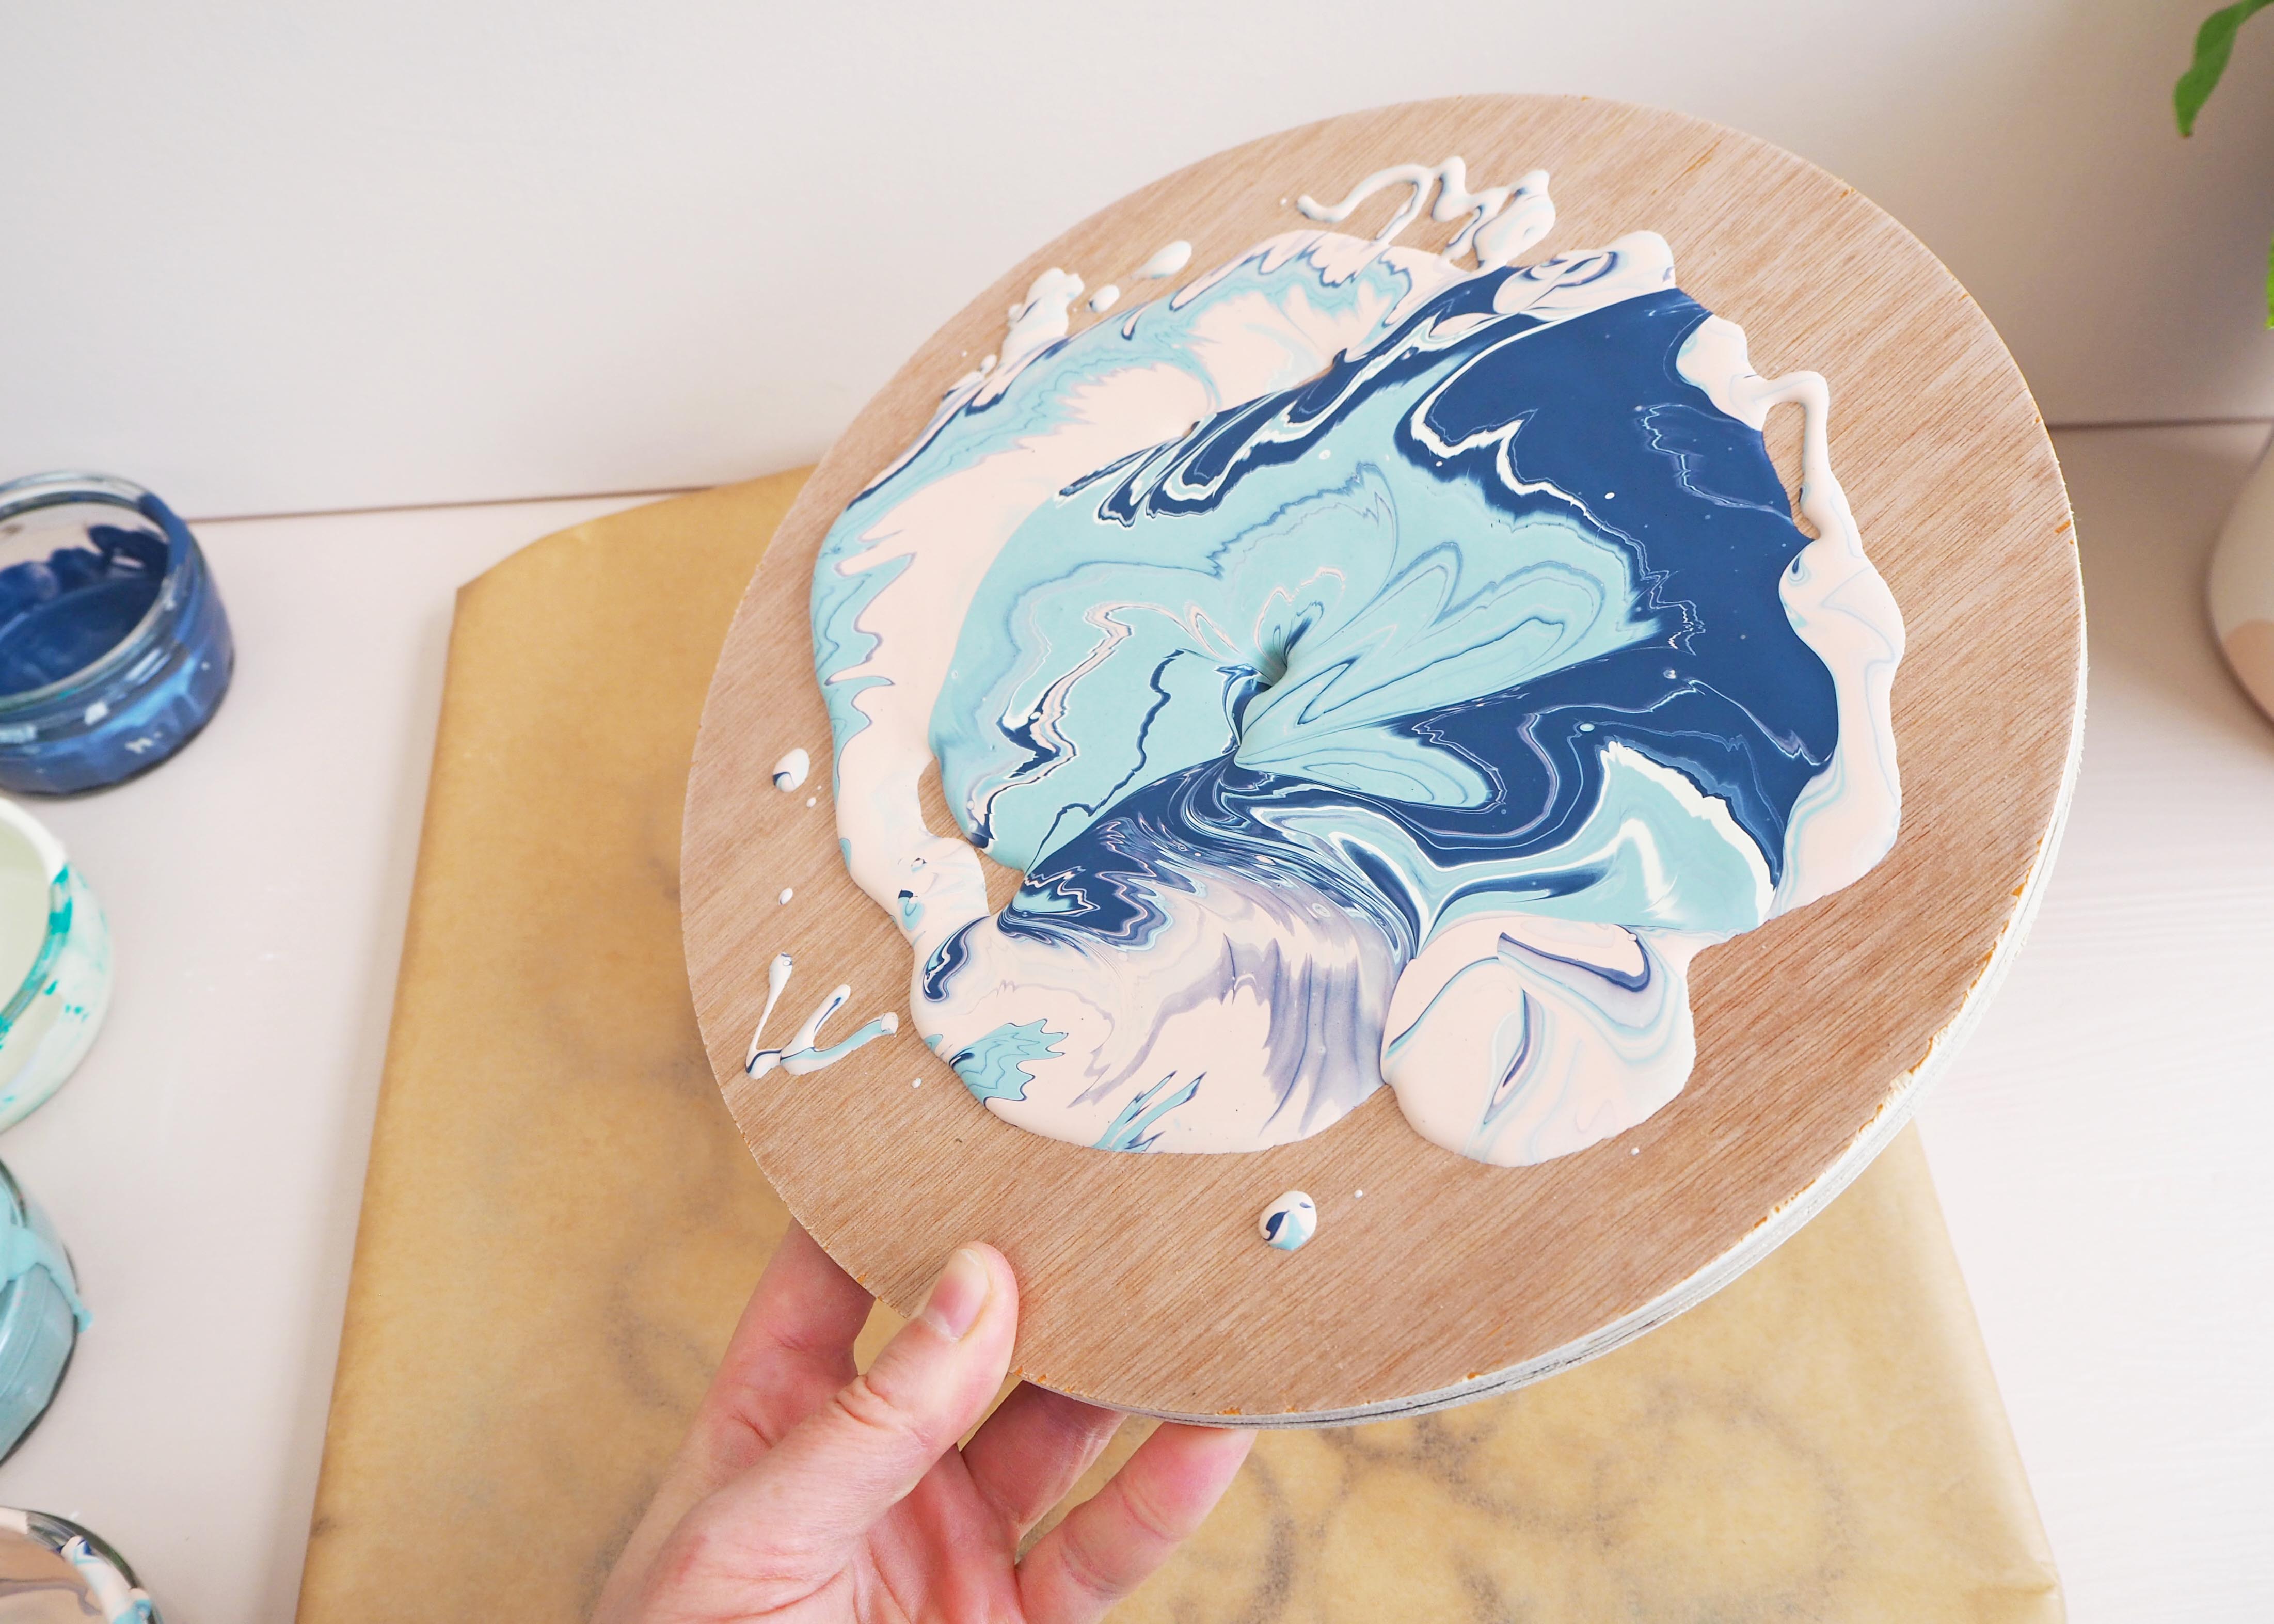
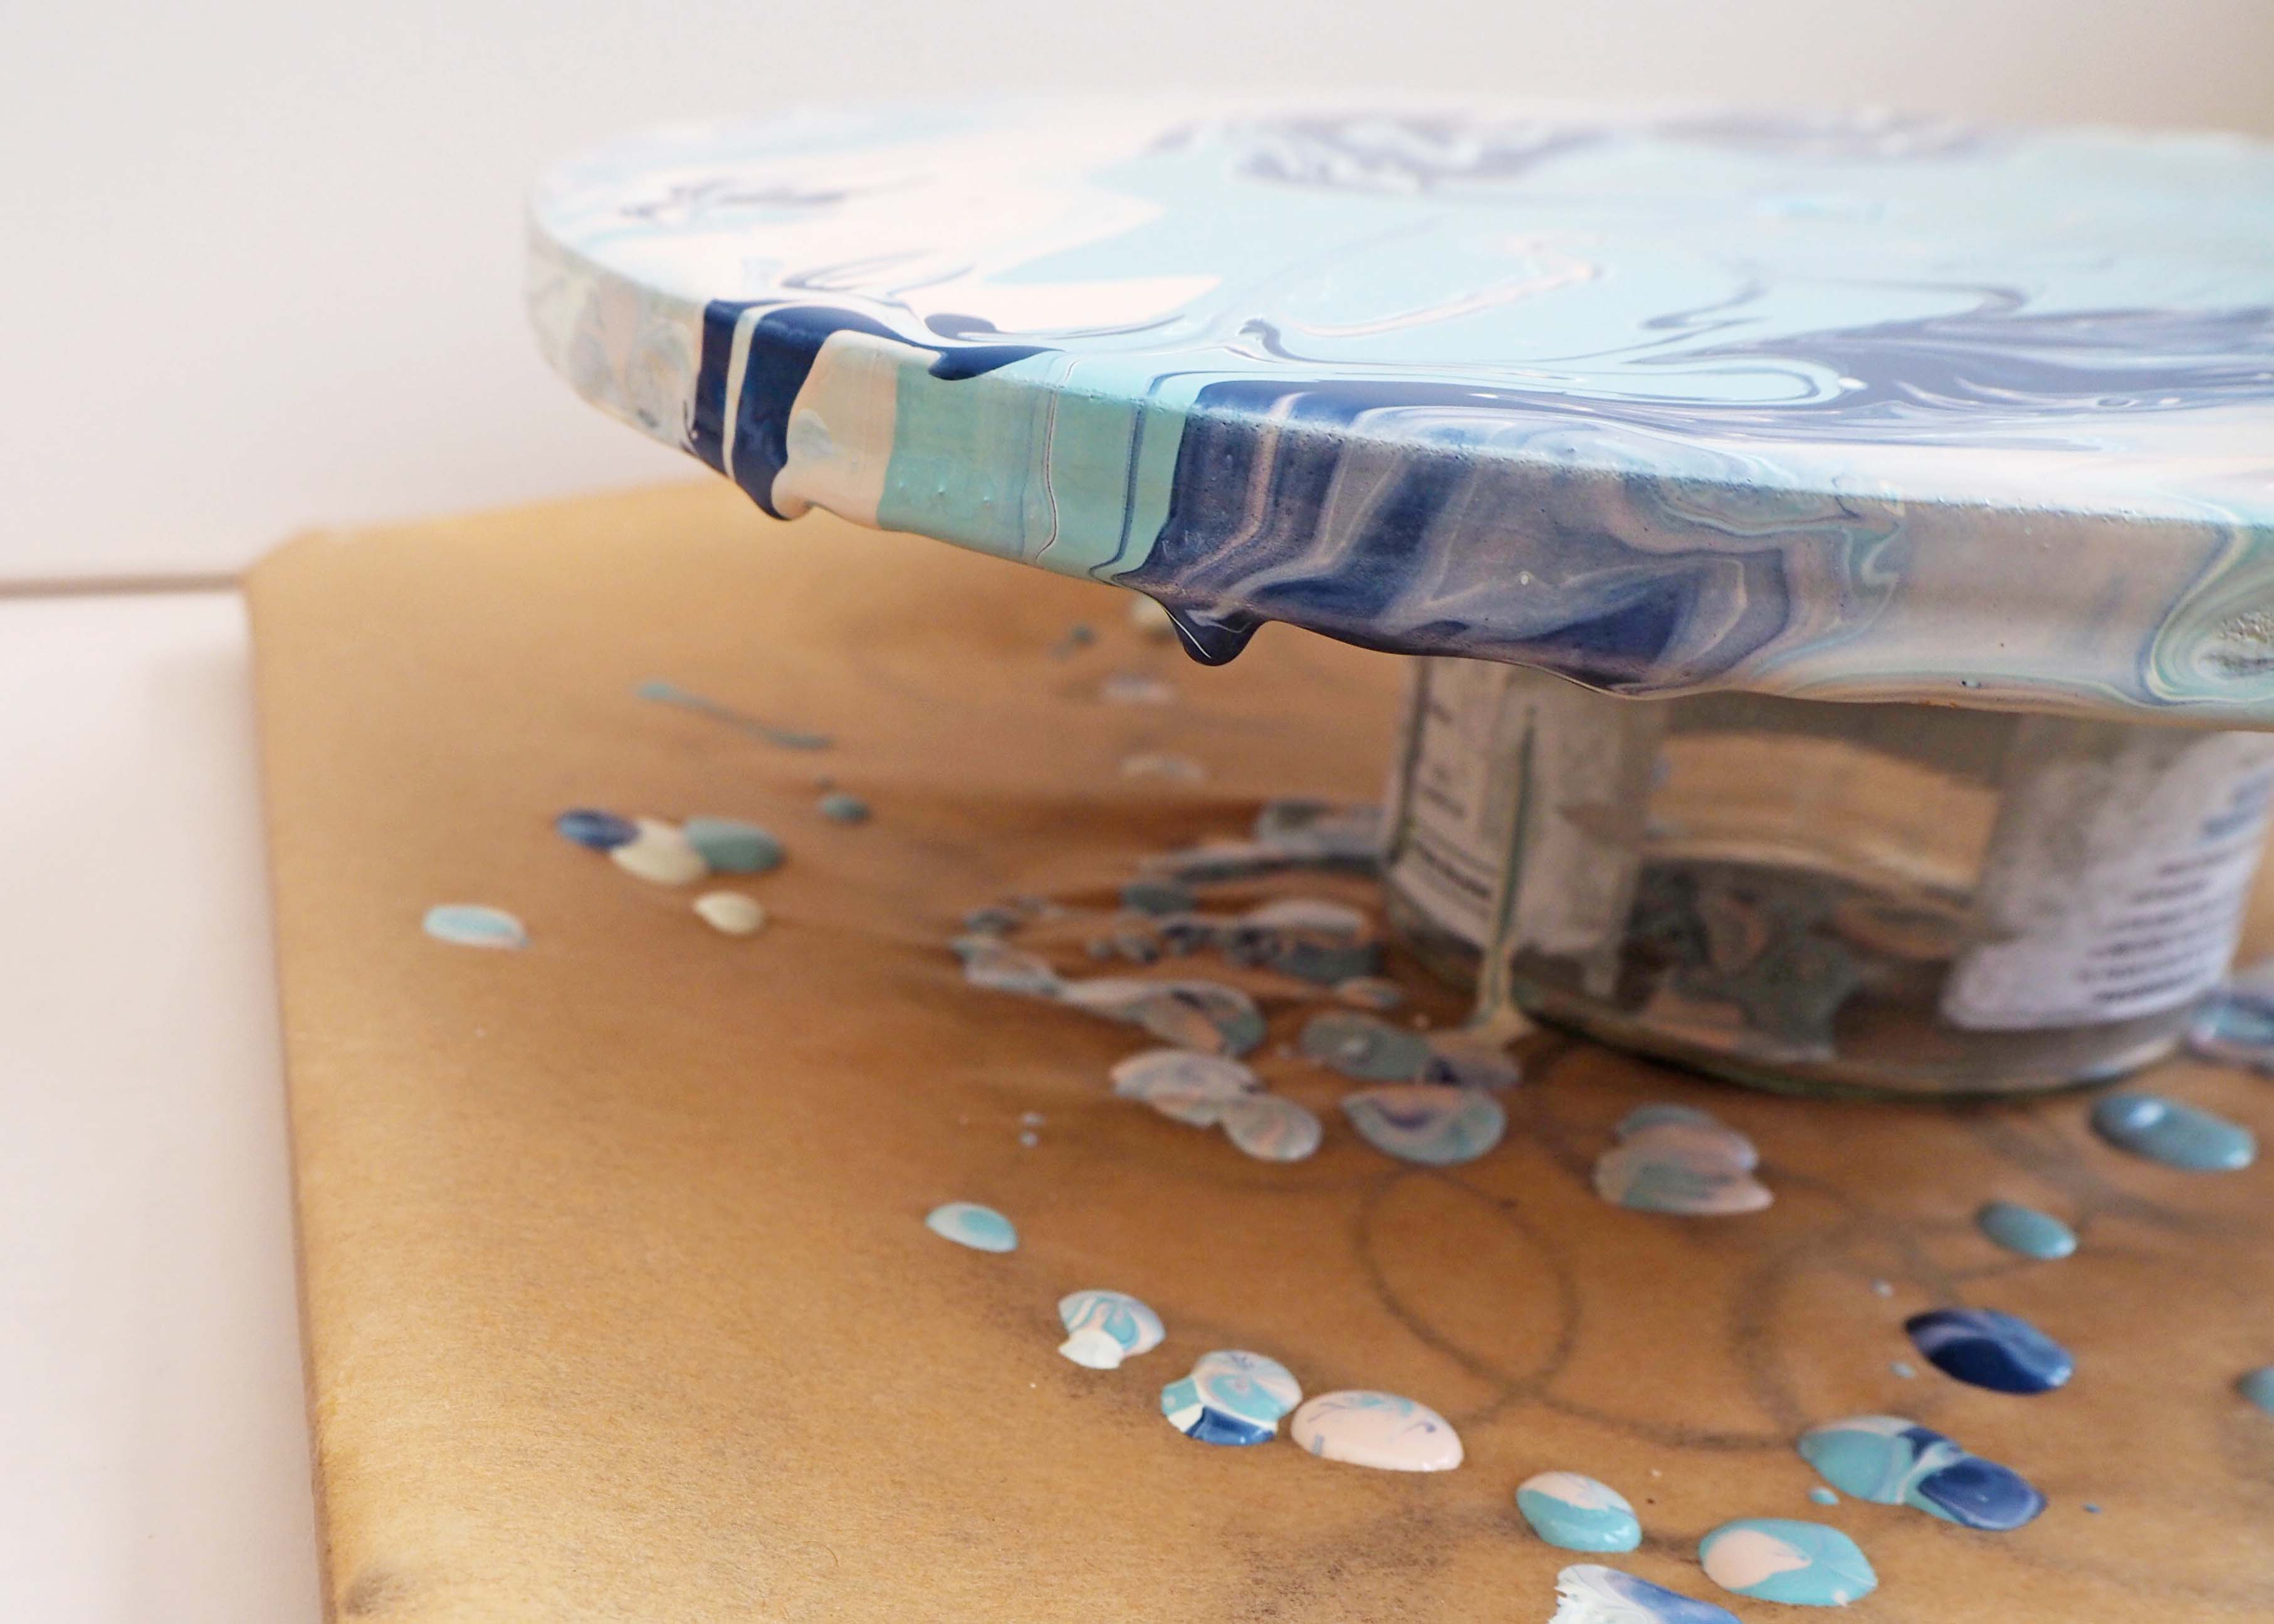
I have also used a paint brush to carefully blend some paint around the edge of the clock face as I didn’t want it to have thick drips of paint hanging off.
You will need to leave the clock face to dry completely which will take quite a long time as the paint will be quite heavy in places. The pouring medium means the paint will take longer to dry then acrylic paint usually does. I would recommend leaving it overnight as there will often be temptation to go and tap it when it 'looks' dry, but often this is just the surface of the paint and it is still actually wet underneath! You don't want to have any fingerprint marks if you can help it!
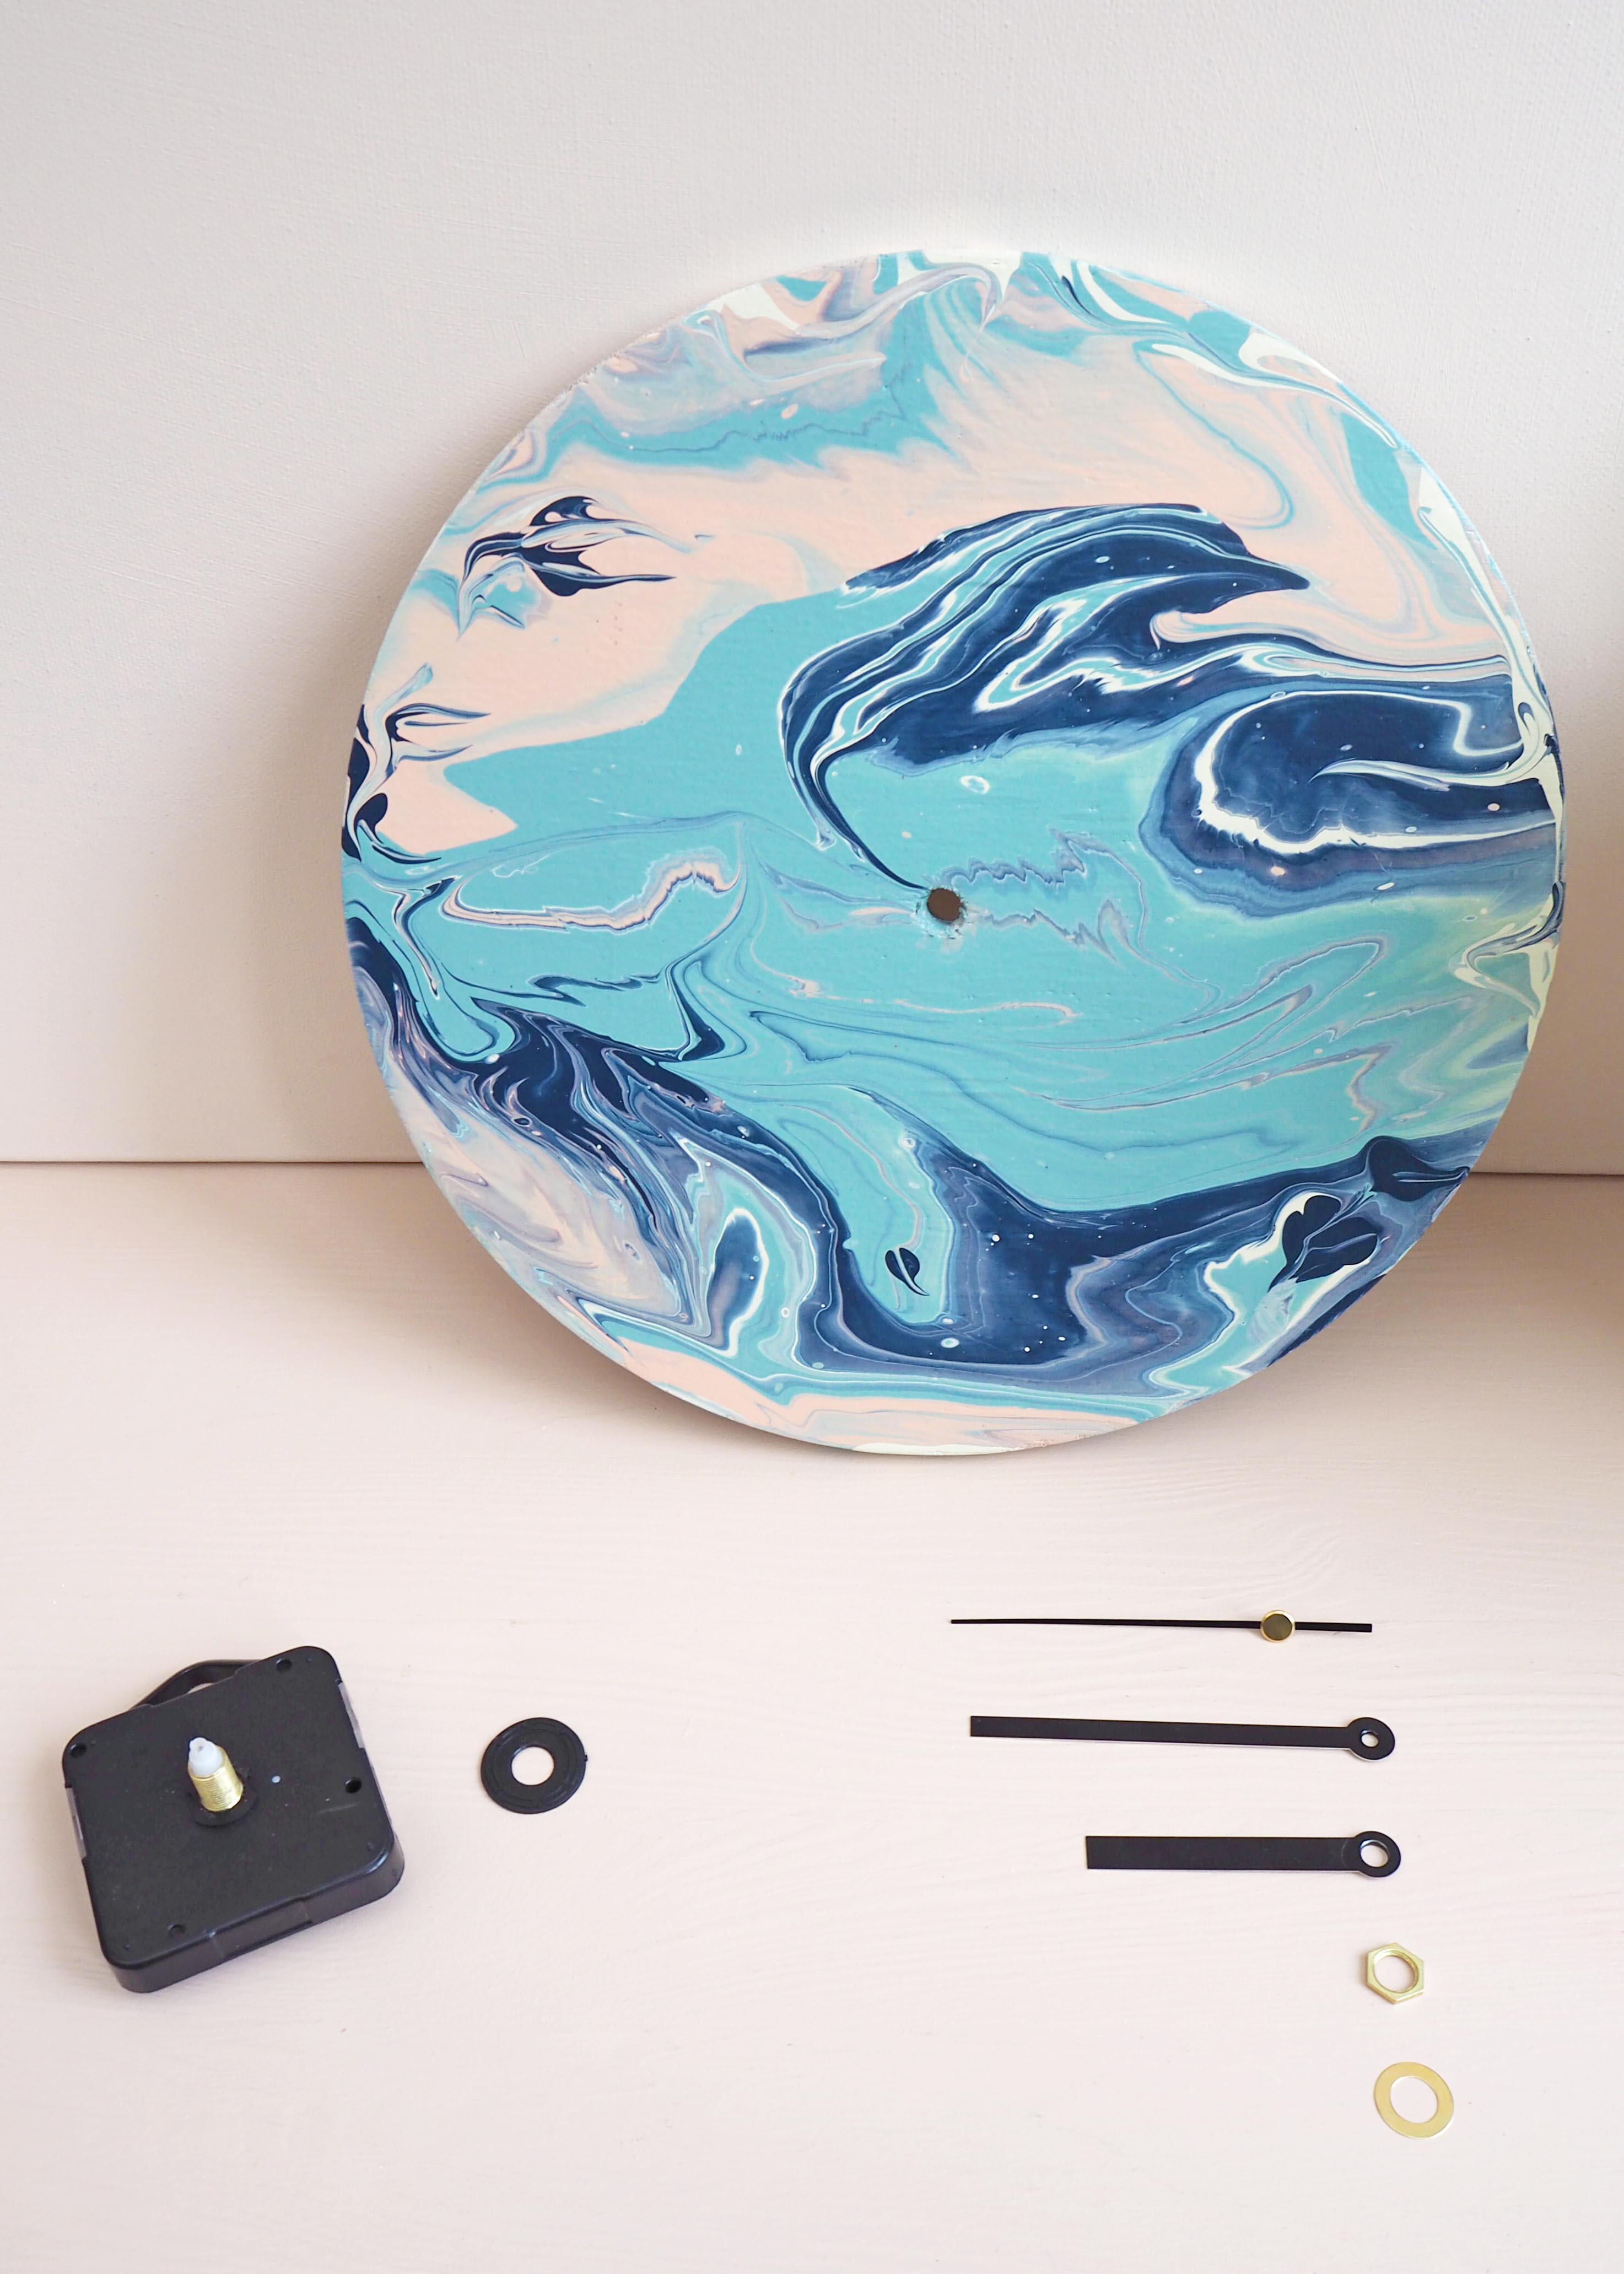
Once fully dry you can add your mechanism and hands. Again you may need to check with your supplier but the general order is as follows:
- Place the rubber stopper on the battery operated clock mechanism. This will be inserted through the back of the clock face.
- Next take the round gold washer and add this to the face of the clock where the mechanism pokes through. Tighten this on with the small gold nut which you can screw on with your hand. It might help to twist the mechanism from the back as you will have a better grip.
- Now to add the hands. Start with the shorter hour hand. Next add the longer minute hand. Lastly the second hand clips into the small hole in the centre of the mechanism. The hands are very lightweight so be careful not to bend them too much when attaching them.
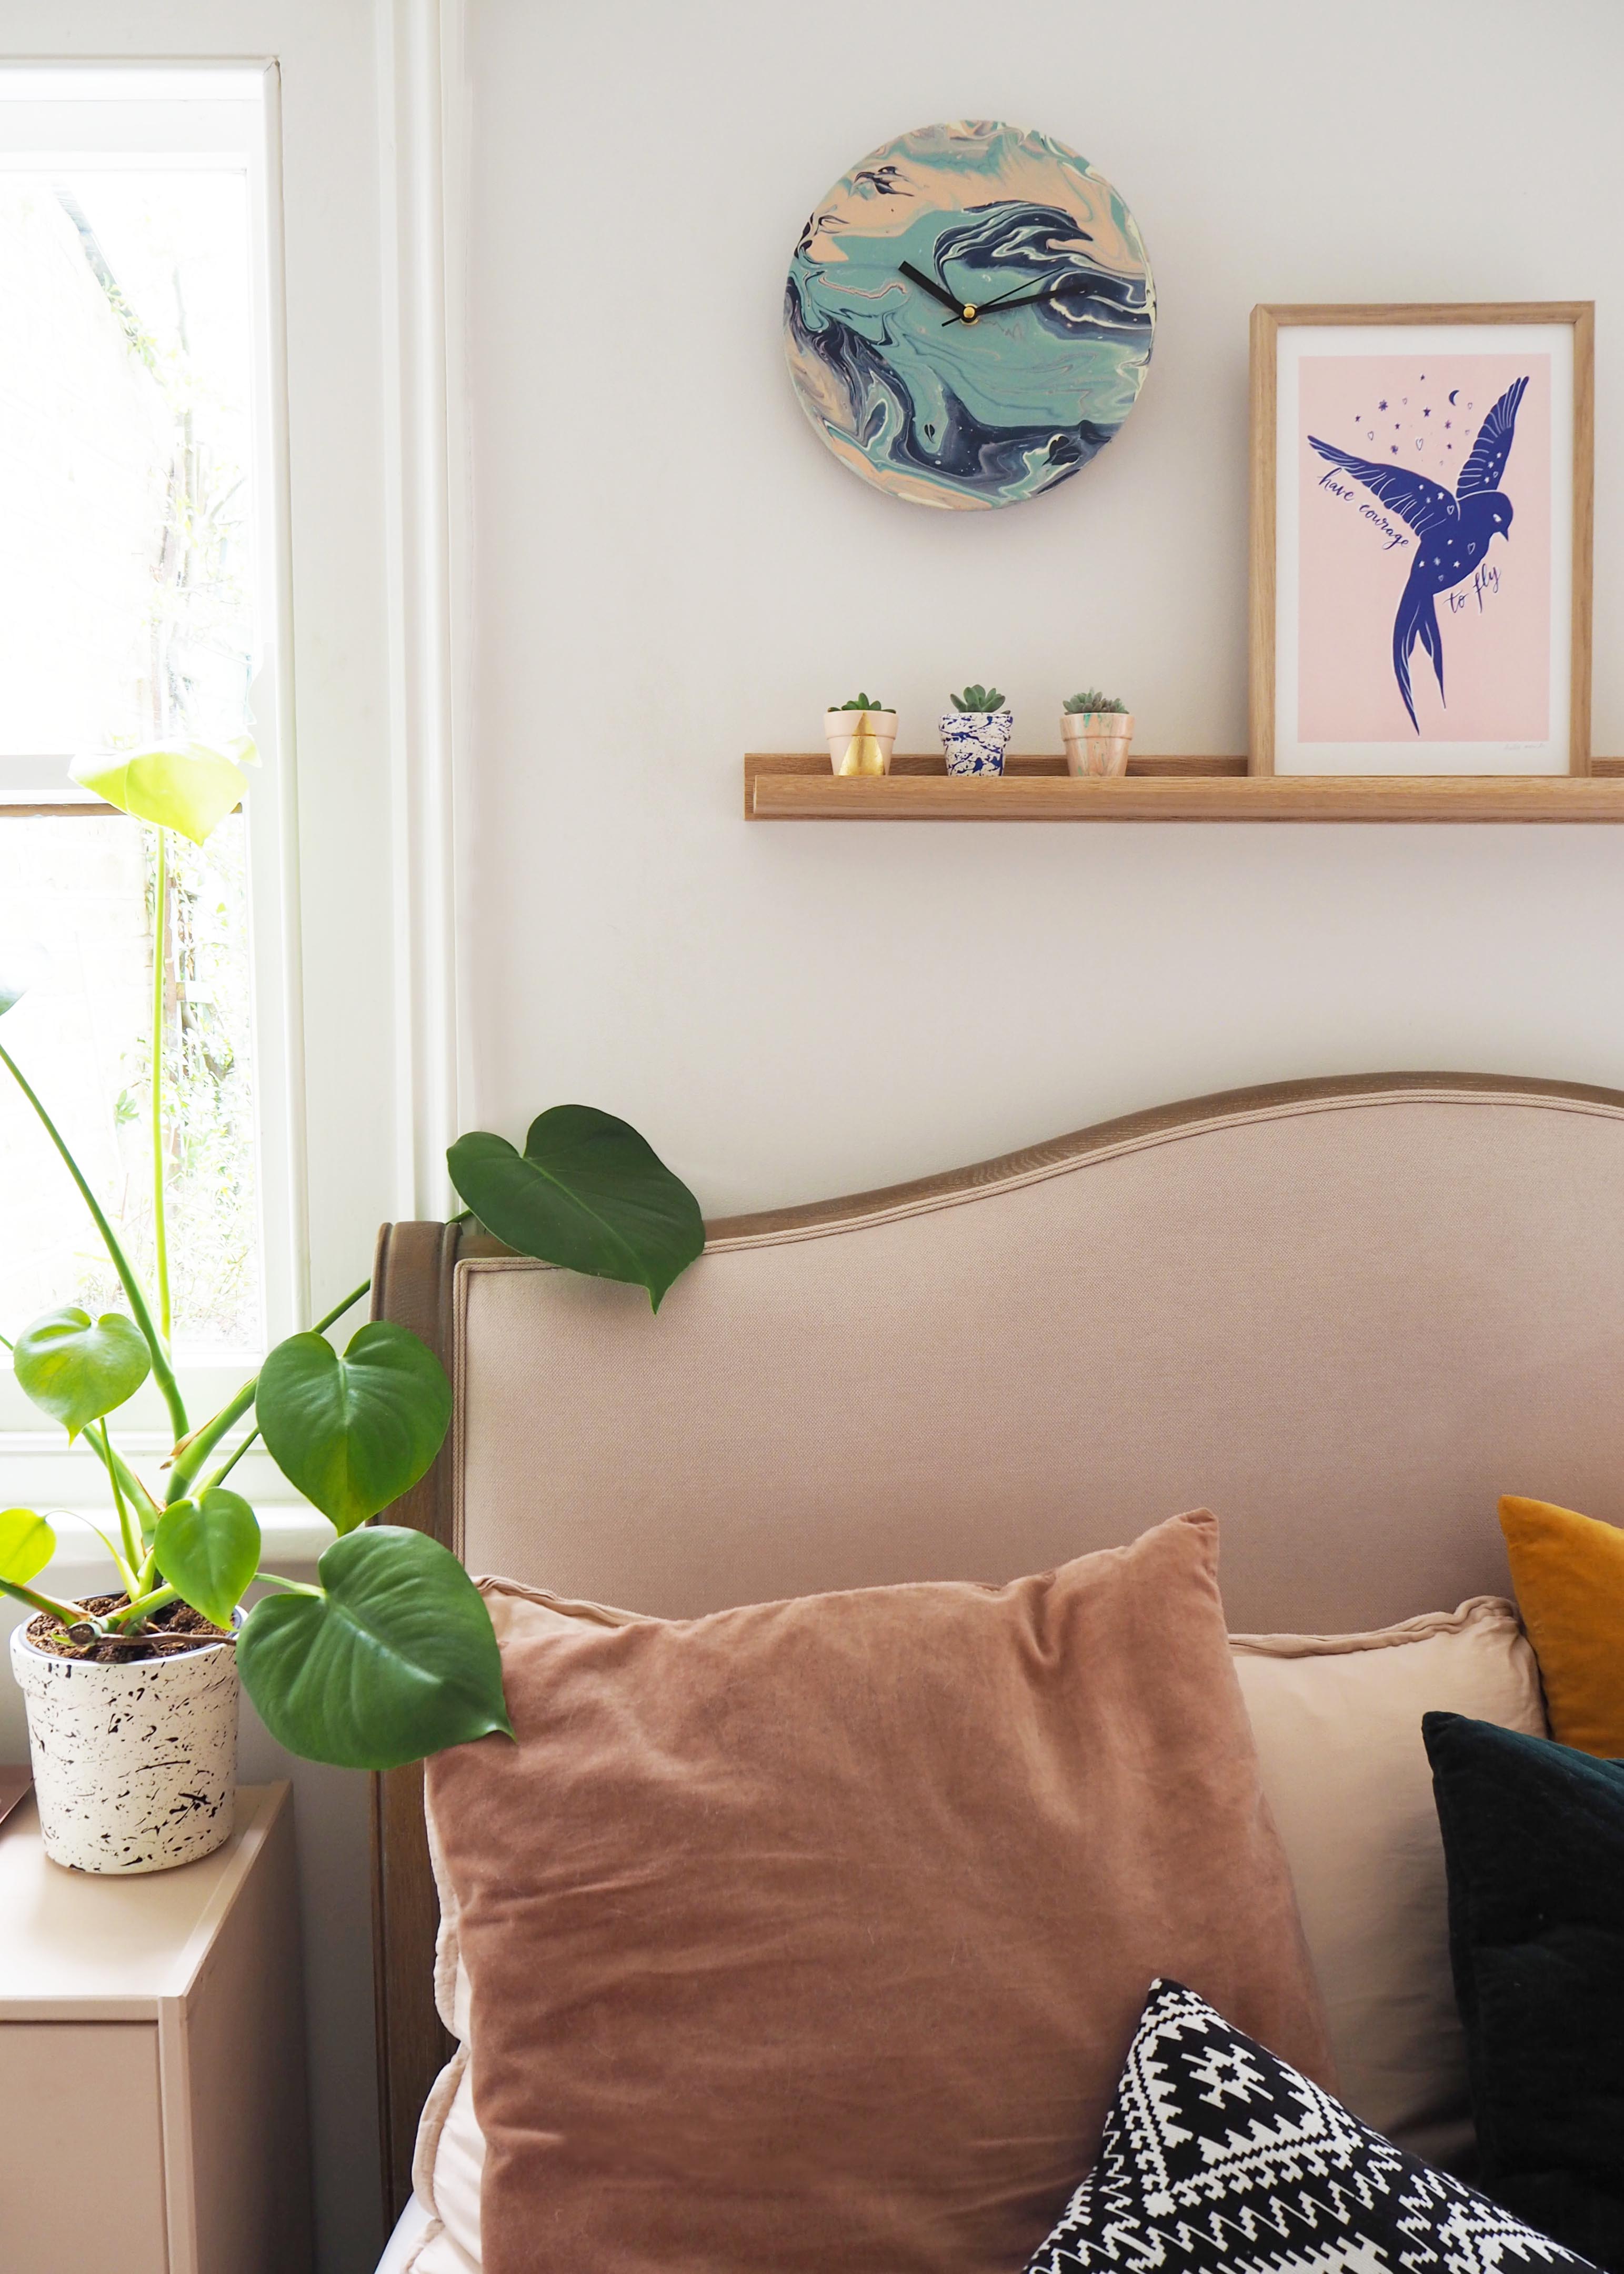
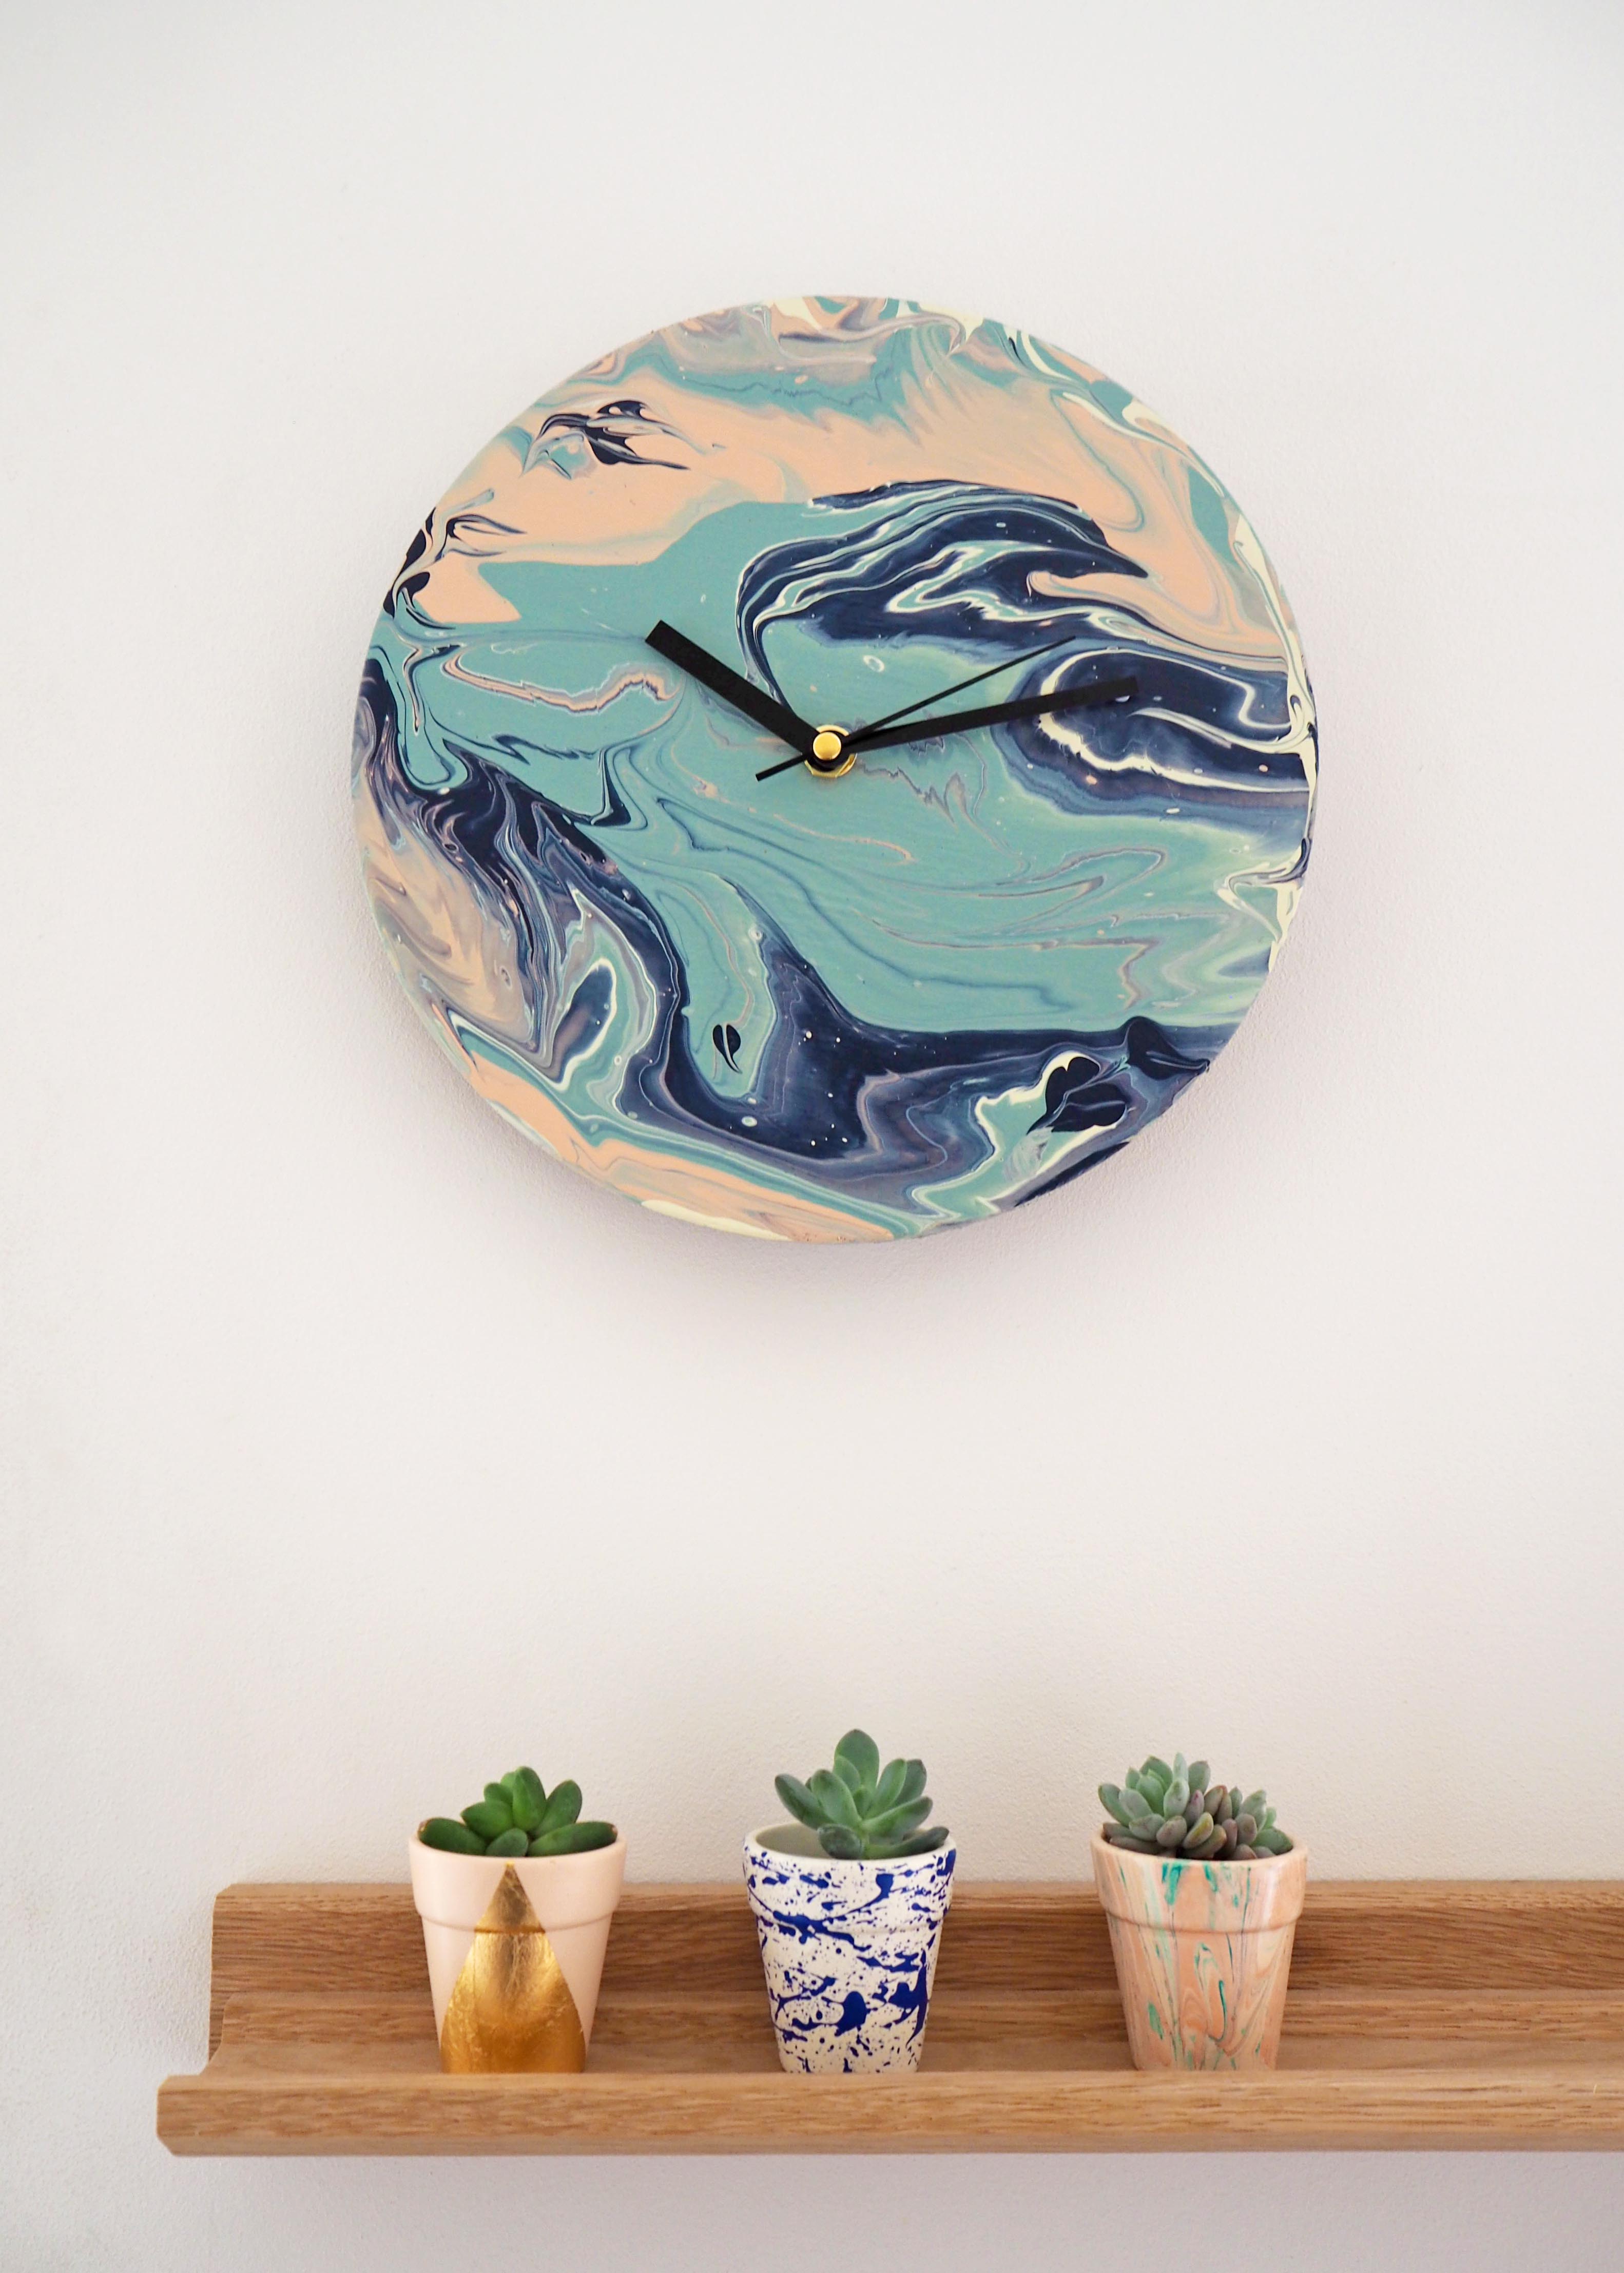
- You can now add your battery and set the time then put your new clock up somewhere special to admire your wonderful creation!
This DIY also works really well on a canvas if you fancy creating a unique piece of artwork for your home. You could try purchasing a starter set here.
If you decide to give this DIY a go we would love to see. Why not add a comment below to let us know which colours you use or, better yet, tag us in your photos on instagram @hellomarilustudio
Pin me for later!
0 comments